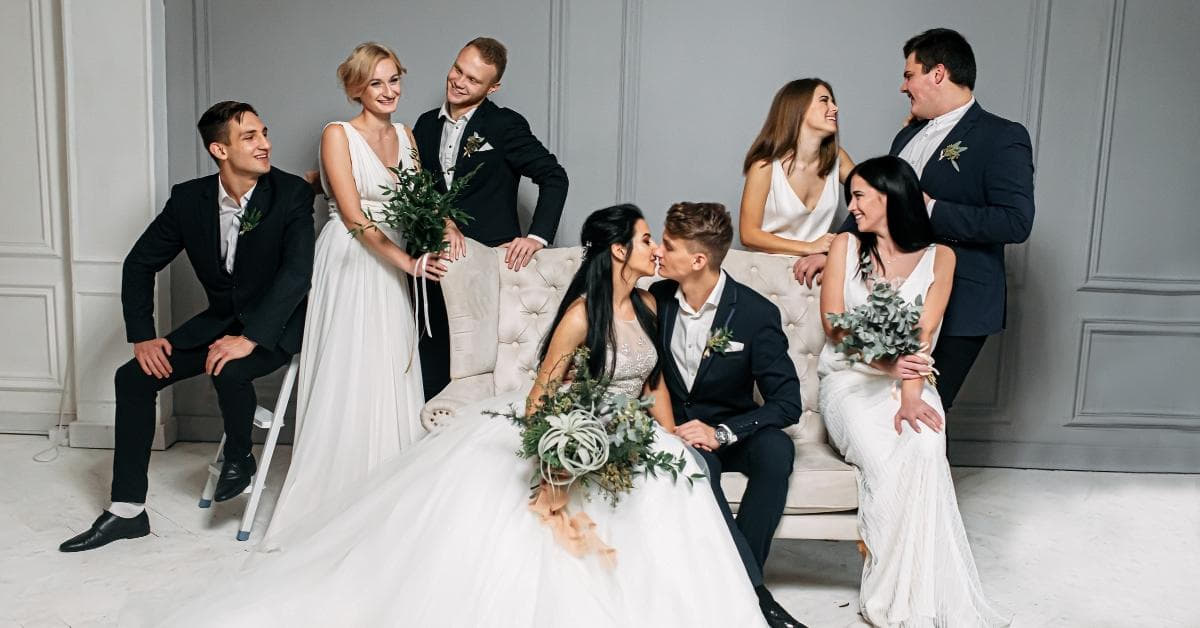
Editing wedding photos is a delicate yet crucial aspect of preserving the magic of that special day. Choosing the right approach can significantly enhance the beauty and emotion captured in each image. In this article, we will explore the best ways to edit wedding photos, ensuring they become timeless mementos.
Understanding the Basics of Wedding Photo Editing
Embarking on the journey of wedding photo editing requires a nuanced approach to bring out the best in each captured moment. In this section, we delve into the fundamental aspects that lay the groundwork for crafting captivating and timeless images.
1. Start with Raw Files:
Begin by working with raw image files to retain maximum detail and flexibility during the editing process. Raw files preserve the original data captured by the camera sensor, allowing for more nuanced adjustments.
2. Color Correction:
Achieve a consistent and pleasing color palette by correcting any color imbalances. Adjust the white balance, saturation, and vibrancy to ensure that the photos reflect the true essence of the wedding day.
3. Cropping and Composition:
Enhance the visual impact of the photos by refining composition and cropping. Eliminate distracting elements and focus on the key subjects, ensuring a polished and professional look.
4. Exposure and Contrast:
Fine-tune exposure and contrast to highlight essential details and create a balanced and visually appealing image. Pay attention to both highlights and shadows to avoid overexposure or loss of detail.
5. Skin Retouching:
When retouching portraits, use a light hand to enhance natural beauty. Soften skin imperfections, reduce blemishes, and maintain a natural look to ensure the couple looks their best without appearing overly edited.
6. Selective Editing:
Employ selective editing techniques to emphasize specific elements in the photo. Whether it’s the wedding rings, the bride’s dress, or a beautiful sunset, selective editing draws attention to what matters most.
Tools of the Trade
Equipping yourself with the right tools is paramount in elevating wedding photo editing to an art form. Explore this section to discover the essential software and resources that will empower you to transform raw images into stunning visual narratives.
1. Adobe Lightroom:
Lightroom is a powerful tool for organizing and editing wedding photos. Its intuitive interface and extensive range of features make it a favorite among photographers.
2. Photoshop:
For more advanced retouching and manipulation, Photoshop remains an industry standard. It allows for detailed adjustments and creative enhancements.
3. Presets:
Consider using presets to streamline your workflow and maintain a consistent style throughout the wedding album. Custom presets or those available online can be a great starting point for editing.
FAQs
Q1: How much editing is too much for wedding photos?
A: The goal is to enhance, not overpower. Keep edits natural and timeless, avoiding trends that may date the photos.
Q2: Can I edit wedding photos on my smartphone?
A: While basic edits are possible on smartphones, professional results are best achieved using dedicated software like Lightroom or Photoshop.
Q3: What’s the importance of preserving the original photo in editing?
A: Preserving the original allows for future adjustments and ensures the couple’s memories are faithfully represented.
Q4: How long does it take to edit a full wedding album?
A: The time varies based on complexity and the number of photos. On average, it may take several hours to a few days.
Q5: Should I consult the couple before making significant edits?
A: Communication is key. Discuss preferences and expectations with the couple to ensure the final edits align with their vision.
Conclusion
Editing wedding photos requires a delicate balance between technical prowess and an artistic eye. By incorporating these tips and tools, you can ensure that the edited photos truly capture the essence of the special day, creating timeless memories for the newlyweds.
This page was last edited on 27 February 2024, at 2:21 pm
