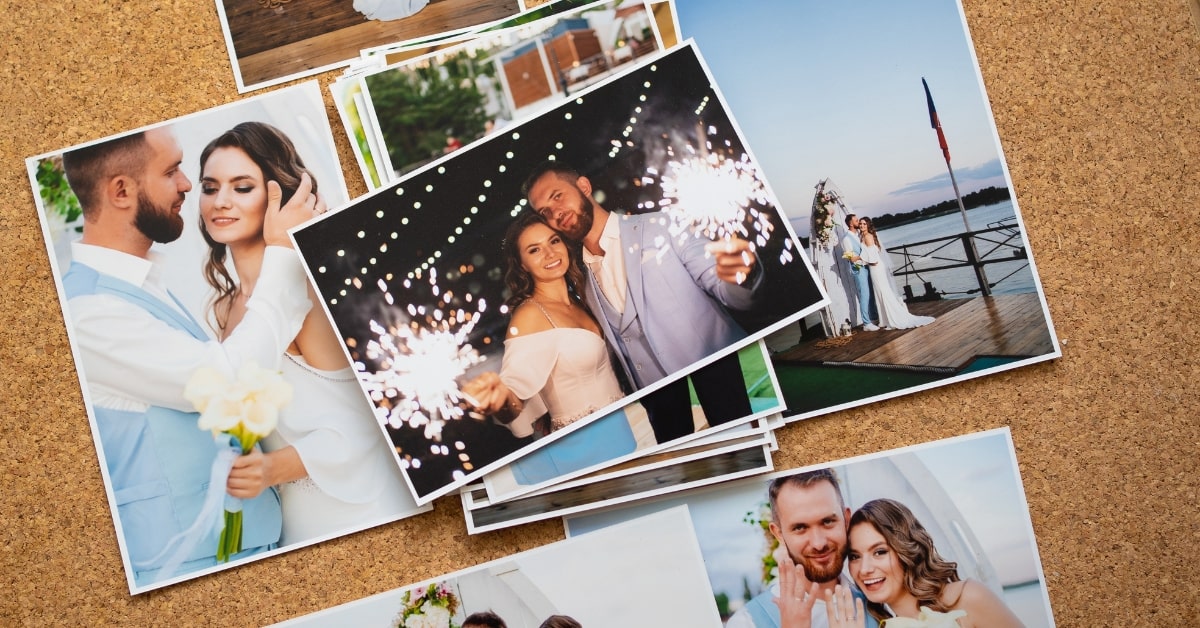
Your wedding day is one of the most significant moments of your life, and capturing those precious memories through photography is crucial. However, even the most skilled photographers may need a little help in post-production to make those photos truly magical. In this article, we’ll share valuable wedding photo editing tips to help you enhance your wedding photos and turn them into timeless treasures.
Wedding Photo Editing Tips
1. Start with the Right Software
To begin your wedding photo editing journey, choose a reliable photo editing software like Adobe Lightroom or Photoshop. These tools provide extensive options for adjusting exposure, colors, and more.
2. Organize Your Photos
Before diving into editing, create a structured folder system to keep your photos organized. This makes it easier to locate specific shots when you’re ready to edit.
3. Backup Your Photos
Always make a backup of your original photos before editing. This ensures you can revert to the original if needed.
4. Correct Exposure
Adjust the exposure to ensure your photos are well-lit and not too dark or too bright. Use the histogram tool to guide you.
5. Enhance Colors
Vibrant colors can make your wedding photos pop. Use the saturation and vibrance sliders to boost colors while keeping them natural.
6. Crop and Straighten
Crop your photos to eliminate distractions and focus on the subject. Ensure your horizons are straight for a polished look.
7. Remove Imperfections
Use the spot healing brush to remove blemishes, wrinkles, or unwanted objects. This step helps in achieving flawless skin and cleaner backgrounds.
8. Fine-Tune White Balance
Adjust the white balance to ensure the colors in your photos are accurate and pleasing to the eye.
9. Sharpen Details
Apply selective sharpening to bring out intricate details, like the lace on a wedding dress or the sparkle in the bride’s eyes.
10. Use Presets Sparingly
While presets can be handy for quick edits, avoid relying on them too heavily. Customize your edits to suit the unique characteristics of each photo.
11. Maintain Consistency
Keep a consistent editing style throughout your wedding photo album to create a cohesive look.
12. Backup Your Edited Photos
Just as with the originals, ensure you have backups of your edited photos to avoid losing your hard work.
13. Seek Feedback
Don’t hesitate to ask for feedback from others, especially fellow photographers or friends. A fresh perspective can be valuable.
14. Print and Preserve
Once your editing is complete, consider printing your favorite shots to create a physical wedding album that will stand the test of time.
Conclusion
With these wedding photo editing tips, you can elevate your wedding photos from ordinary to extraordinary. Remember that practice makes perfect, so don’t be discouraged if your first attempts aren’t flawless. Keep refining your skills, and your wedding photo album will become a cherished family heirloom for generations to come. Happy editing!
Frequently Asked Questions (FAQs)
Editing time varies depending on the number of photos and your level of expertise. On average, it can take several hours to edit a full wedding album.
Yes, many photo editing apps are available for smartphones. While they may not offer as many features as desktop software, you can still achieve impressive results.
To maintain a natural look, avoid over-editing. Be subtle with adjustments and avoid excessive retouching.
Yes, there are free options like GIMP and LightZone. While they may not have all the features of premium software, they can still be effective for basic edits.
If you’re unsure about your editing skills or want to ensure the highest quality, hiring a professional editor can be a wise choice.
This page was last edited on 1 April 2024, at 10:36 am
