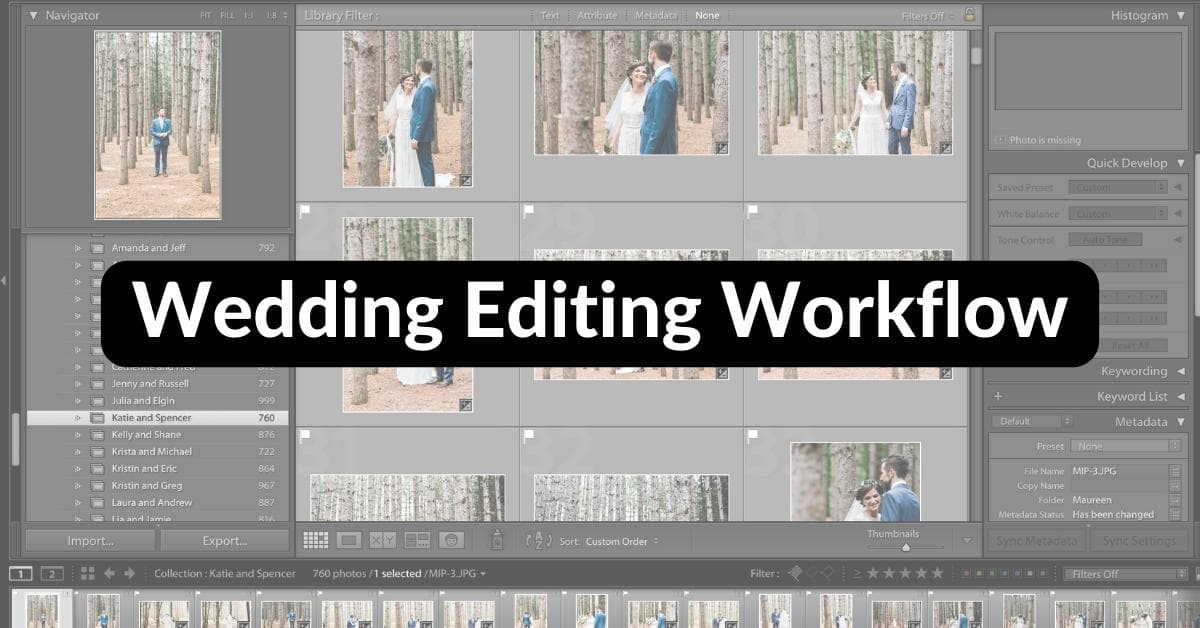
In the realm of wedding photography, capturing the essence of one of the most important days in a couple’s life is a delicate art. However, the journey doesn’t end when the photos are taken; it continues through the meticulous process of wedding photo editing. A well-organized and efficient editing workflow ensures that each image radiates the joy and love of the moment. Let’s delve into the intricacies of a seamless wedding editing workflow.
The Wedding Editing Workflow
In this guide, we unveil the key steps to streamline the wedding photo editing process, ensuring your marriage photos radiate with the timeless essence of the special day.
1. Culling and Selection:
The initial step before image editing involves sifting through the multitude of wedding photos to choose the best shots. Use software like Adobe Lightroom for an organized culling process. Focus on technical aspects like composition, exposure, and sharpness.
2. Color Correction:
Establish a consistent color palette throughout the wedding album by correcting white balance and adjusting tones. This step lays the foundation for a cohesive visual narrative.
3. Basic Retouching:
Address minor imperfections and enhance overall image quality. This includes adjustments to contrast, saturation, and sharpness. Ensure that the images retain a natural look while emphasizing their inherent beauty.
4. Advanced Retouching:
Dive into more detailed retouching to perfect facial features, remove distractions, and polish the images to a professional standard. Maintain authenticity while smoothing out any distracting elements.
5. Stylistic Edits:
Develop a unique style by applying creative filters or presets. This step adds a personal touch and enhances the overall aesthetic of the wedding album.
6. Album Layout and Design:
Arrange the selected and edited images into a compelling narrative. Consider the flow and storytelling aspect, creating a visual journey that mirrors the emotional highs of the wedding day.
7. Final Quality Check:
Conduct a thorough review of the entire album. Pay attention to details, ensuring consistency in color, tone, and style. Rectify any overlooked issues before finalizing the edits.
8. Export and Delivery:
Optimize images for various platforms and delivery methods. Whether for print or online sharing, ensure that the final product meets the highest standards.
FAQs
Q1: How long does the wedding editing process usually take?
A1: The duration varies depending on factors such as the number of photos, complexity of edits, and the photographer’s workflow. On average, it may take a few days to a few weeks.
Q2: Can I request specific edits to my wedding photos?
A2: Absolutely! Communication is key. Discuss your preferences with the photographer before the editing process begins, ensuring your vision aligns with the final product.
Q3: What software is commonly used for wedding photo editing?
A3: Adobe Lightroom and Adobe Photoshop are industry standards for wedding photo editing. They offer a comprehensive suite of tools for culling, retouching, and designing.
Q4: How can I ensure my wedding photos maintain a natural look after editing?
A4: Prioritize subtle edits that enhance rather than transform. Work with a skilled editor who understands the importance of preserving the authenticity of the captured moments.
Q5: Do I receive both edited and unedited versions of my wedding photos?
A5: Typically, photographers deliver only the edited versions. The editing process is integral to refining and presenting the best possible images from your special day.
Conclusion
Crafting a stunning wedding album requires more than just an artistic eye; it demands a well-defined wedding editing workflow. By following these steps, photographers can transform raw captures into timeless keepsakes that beautifully encapsulate the magic of a couple’s most cherished day.
This page was last edited on 27 February 2024, at 12:24 pm
