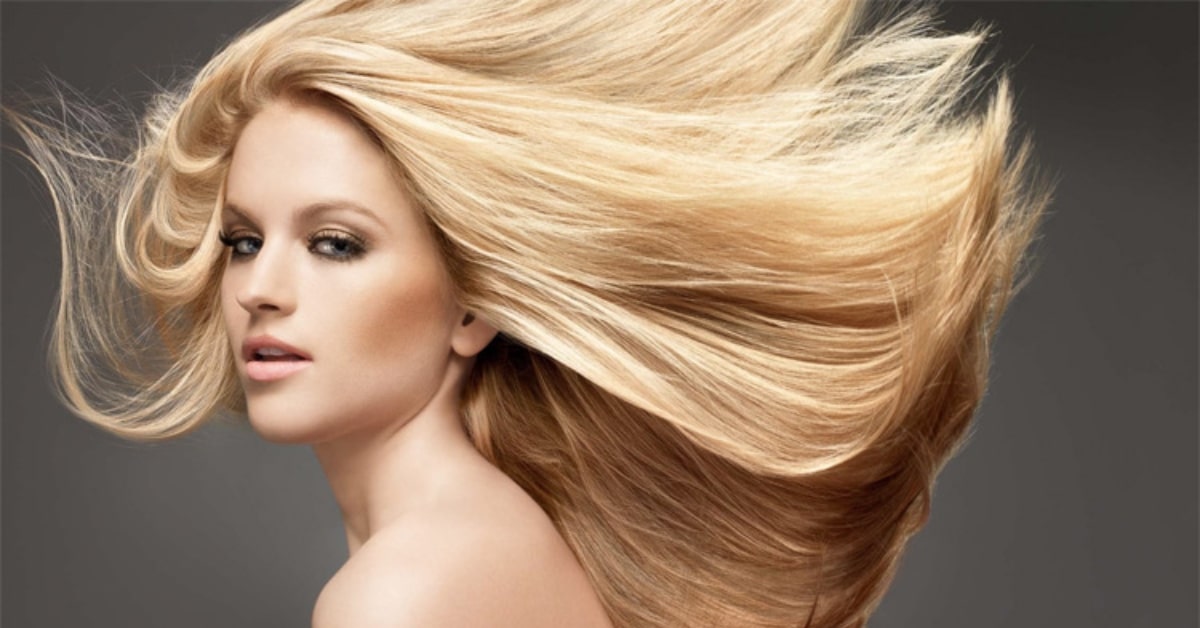
In the world of photography and image editing, flyaway hair can be a common nuisance, making an otherwise perfect shot appear less polished. However, there’s no need to despair. With the power of Photoshop, you can easily retouch flyaway hair and achieve flawless results. In this article, we will guide you through the process of retouching flyaway hair in Photoshop, providing you with techniques, tips, and answers to frequently asked questions to ensure you master this art.
Retouching Flyaway Hair in Photoshop: Step by Step
Let’s see the step-by-step of doing flyaway hair in Photoshop:
Step 1: Open Your Image
Begin by opening your image in Adobe Photoshop. Ensure you’re working on a high-resolution file to maintain image quality.
Step 2: Duplicate the Layer
In the Layers panel, right-click on your background layer and select “Duplicate Layer.” This will create a copy that you can work on without affecting the original.
Step 3: Zoom In
Zoom in on the area with flyaway hair to get a clear view of the strands you want to retouch.
Step 4: Select the Clone Stamp Tool
In the toolbar, select the Clone Stamp Tool. This tool allows you to clone a part of your image and paint it over the flyaway hair.
Step 5: Adjust the Brush Settings
In the top toolbar, adjust the brush size according to the thickness of the flyaway hair strands. A smaller brush is ideal for fine hairs.
Step 6: Sample a Clean Area
Hold down the “Alt” key and click on a clean area of hair or scalp that you want to clone over the flyaways. This will be your source point.
Step 7: Retouch the Flyaway Hair
With your source point selected, click on the flyaway hair strands. Paint over them, and you’ll see them magically disappear as they are replaced with cloned hair.
Step 8: Fine-Tune
Zoom out and examine your image to make sure the retouched hair looks natural and doesn’t stand out. Adjust the brush size and source point as needed.
Step 9: Repeat as Necessary
Continue this process for all the flyaway hair strands until you’re satisfied with the result.
Step 10: Merge Layers and Save
Once you’re happy with the retouching, merge your layers (Ctrl+E) and save your edited image.
Tips for Effective Flyaway Hair Retouching
- Subtlety is Key: Make sure your retouching appears natural. Overly smooth or perfectly symmetrical hair can look unnatural.
- Use Soft Brushes: Soft brushes with a low flow setting allow for smoother blending.
- Zoom In and Out: Continuously zoom in and out to check the overall effect and make sure the retouching blends seamlessly.
- Practice: Like any skill, flyaway hair retouching improves with practice. Experiment with different brush sizes and techniques.
Conclusion
Retouching flyaway hair in Photoshop is a valuable skill for photographers and image editors. With the right tools and techniques, you can transform a messy hair situation into a polished, professional look. Remember, subtlety and practice are your best allies in achieving natural and flawless results. So, don’t be discouraged by a few unruly strands; Photoshop has you covered.
Frequently Asked Questions (FAQs)
Yes, preventing flyaway hair is possible. Using hairspray, gel, or gentle combing before the shoot can help manage flyaways.
Yes, the Healing Brush and Spot Healing Brush tools can also be used for retouching flyaway hair, depending on the specific image and your preference.
While Photoshop is one of the most popular choices, other image editing software like GIMP or Adobe Lightroom also offer tools for retouching flyaway hair.
It’s essential to maintain the integrity of the subject’s appearance. Excessive retouching that drastically alters the hair’s natural flow can raise ethical concerns
The technique is generally the same, but the brush size and source point selection may vary depending on the hair type and thickness.
This page was last edited on 2 April 2024, at 10:59 am