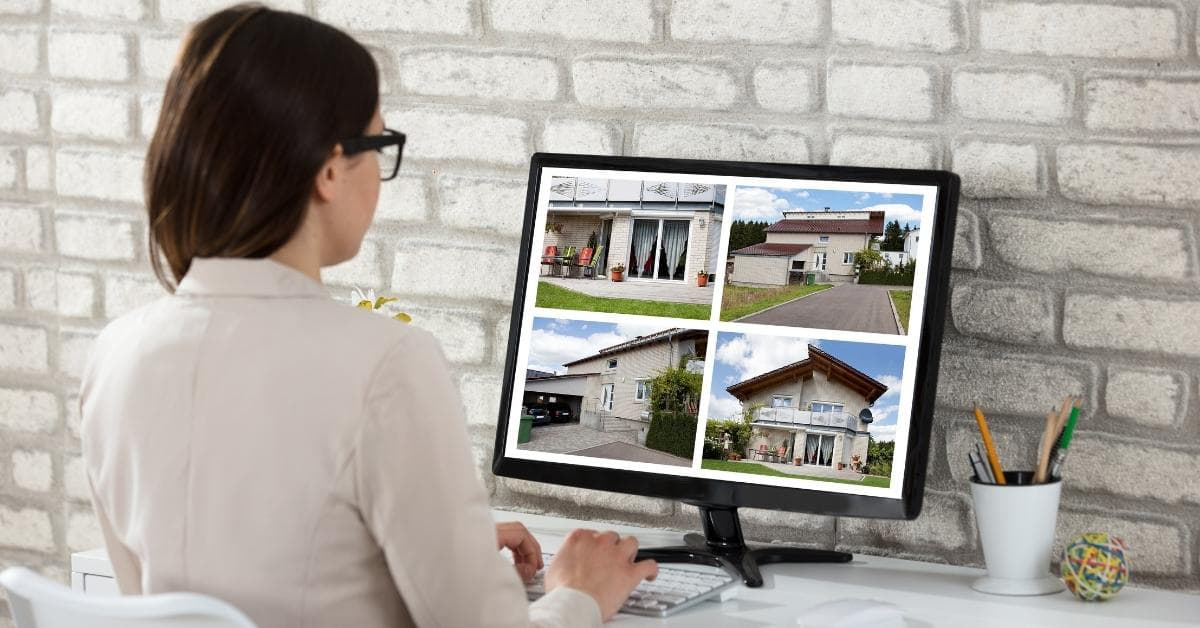
High-quality photos can make a significant difference in how a property is perceived online. In this article, we will delve into essential real estate photo editing tips to help you showcase your listings in the best possible light.
Understanding the Basics of Real Estate Photo Editing
1. Start with a High-Quality Image:
Before diving into the editing process, ensure that your original photo is of the highest quality. Invest in a good camera and use natural light to capture the property’s essence.
2. Correct Exposure and White Balance:
Adjust the exposure and white balance to ensure that the colors are true to life. This step is crucial for creating a visually appealing and realistic representation of the property.
3. Straighten and Crop:
Straighten the image to ensure a level horizon, and use cropping to highlight the key features of the property. This creates a more professional and aesthetically pleasing composition.
Advanced Editing Techniques
4. HDR Editing:
HDR (High Dynamic Range) editing can enhance details in both the shadows and highlights, providing a more balanced and realistic look to your photos.
5. Virtual Staging:
Consider virtual staging to showcase the potential of a space. This involves adding virtual furniture or decor to make an empty room more inviting.
6. Remove Distractions:
Edit out any distracting elements like personal belongings, unnecessary clutter, or imperfections to create a clean and polished look.
Tips for Real Estate Photo Editing Software
7. Choose the Right Software:
Opt for professional photo editing software such as Adobe Lightroom or Photoshop. These tools offer a wide range of features to enhance and refine your images.
8. Batch Editing:
When dealing with multiple photos, use batch editing to streamline your workflow and maintain consistency across your listings.
FAQs
Q1: Can I edit real estate photos on my smartphone?
A1: While basic edits can be done on smartphones using apps like Snapseed, for more advanced and professional results, it’s recommended to use dedicated software on a computer.
Q2: How much editing is too much?
A2: Strive for a balance. Enhance the property’s features without misrepresenting it. Avoid excessive editing that might create an unrealistic portrayal.
Q3: Are there any legal considerations for real estate photo editing?
A3: Always respect ethical standards. Avoid misleading edits that could misrepresent the property. Disclose any major edits that may affect the property’s appearance.
Q4: What file format is best for real estate photos?
A4: JPEG is commonly used for online listings due to its smaller file size. However, if you need higher quality, consider using RAW files and convert them to JPEG after editing.
Conclusion
Mastering real estate photo editing is a valuable skill for any realtor or property manager. By following these tips and employing professional editing techniques, you can create visually stunning images that make a lasting impression on potential buyers.
This page was last edited on 28 February 2024, at 9:59 am