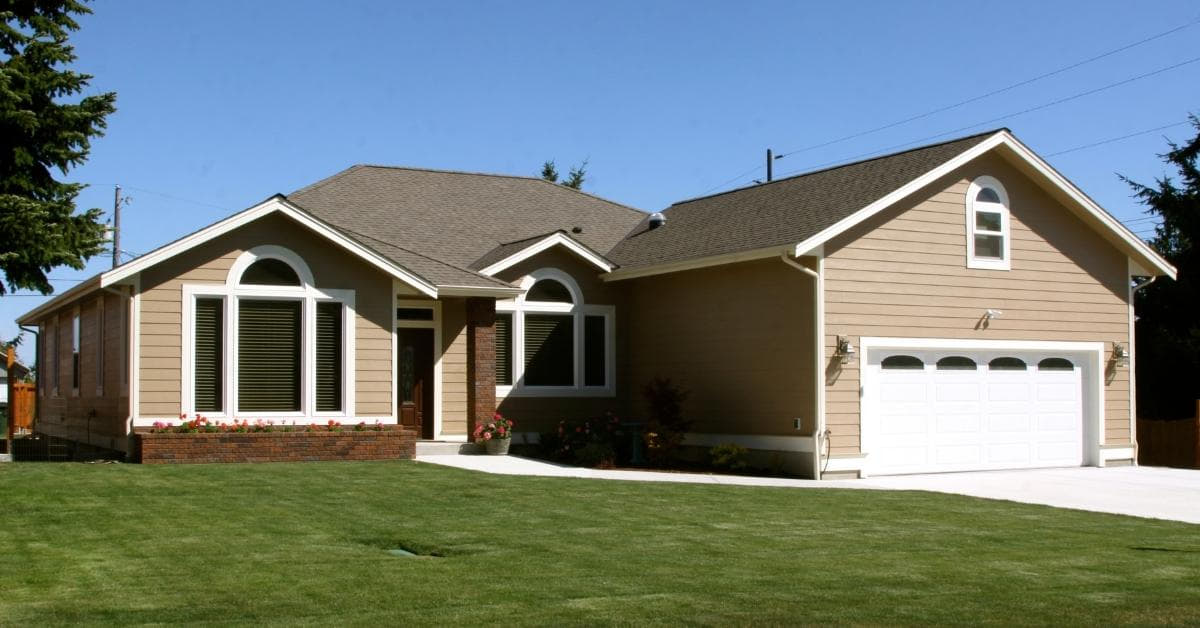
In the competitive realm of real estate, captivating visuals play a pivotal role in attracting potential buyers. High-quality images can make or break a property listing, influencing a buyer’s decision-making process. To ensure your real estate photos stand out, adhering to effective editing guidelines is crucial.
Understanding Real Estate Photo Editing:
Embarking on the journey of real estate photo editing requires a keen eye for detail and a mastery of digital tools. In this section, we delve into essential guidelines to transform ordinary property images into captivating visual narratives.
1. Start with the Right Equipment:
Before diving into the editing process, ensure your photographs are taken with quality equipment. A high-resolution camera and proper lighting significantly contribute to the overall image quality.
2. Focus on Composition:
Well-composed images create a positive first impression. Pay attention to angles, framing, and the rule of thirds. Center your shots around the property’s key features.
3. Color Correction:
Maintain accurate colors to represent the property realistically. Correct any color cast issues caused by lighting conditions during the shoot.
4. HDR Editing:
High Dynamic Range (HDR) editing helps balance the exposure in different areas of a photo. This ensures that both the interiors and exteriors are well-lit and visible.
5. Image Straightening:
Correct any distortions or tilting in the photos to present a professional and polished look.
6. Virtual Staging:
Consider virtual staging for vacant properties. This technique adds furniture and decor digitally, helping buyers envision the potential of the space.
7. Remove Unwanted Elements:
Use editing tools to eliminate distractions such as wires, reflections, or personal items. Keep the focus on the property itself.
8. Enhance Sharpness and Clarity:
Sharpening images and enhancing clarity contribute to a more detailed and visually appealing photograph.
9. Balancing Saturation:
Adjust saturation levels to ensure vibrant but natural-looking colors. Avoid overly saturated images that may appear unrealistic.
10. Final Touches:
Pay attention to the finer details, including noise reduction, cropping, and adding the finishing touches that make your photos visually striking.
FAQs
Q1: Why is real estate photo editing important?
A1: Real estate photo editing enhances the visual appeal of property listings, making them more attractive to potential buyers. It helps highlight key features and creates a positive first impression.
Q2: Can I edit real estate photos on my own?
A2: While basic edits can be done by amateurs, professional results often require advanced editing skills. Hiring a professional real estate photo editor ensures high-quality, polished images.
Q3: How much does real estate photo editing cost?
A3: The cost of real estate photo editing varies depending on the complexity of the edits and the editing service provider. Prices can range from a few dollars per image to higher rates for more intricate edits.
Q4: What is virtual staging, and is it worth it?
A4: Virtual staging involves digitally adding furniture and decor to vacant spaces. It’s a cost-effective way to showcase a property’s potential. Whether it’s worth it depends on the property and target market.
Q5: Are there any free real estate photo editing tools?
A5: Yes, several free tools, such as GIMP and Canva, offer basic editing features. However, for professional results, it’s recommended to invest in more advanced real estate editing software or hire a professional.
Conclusion
Mastering the art of real estate photo editing is essential for creating compelling property listings. By following these guidelines, you can enhance your images, attract potential buyers, and make a lasting impact in the competitive real estate market.
This page was last edited on 28 February 2024, at 9:45 am
