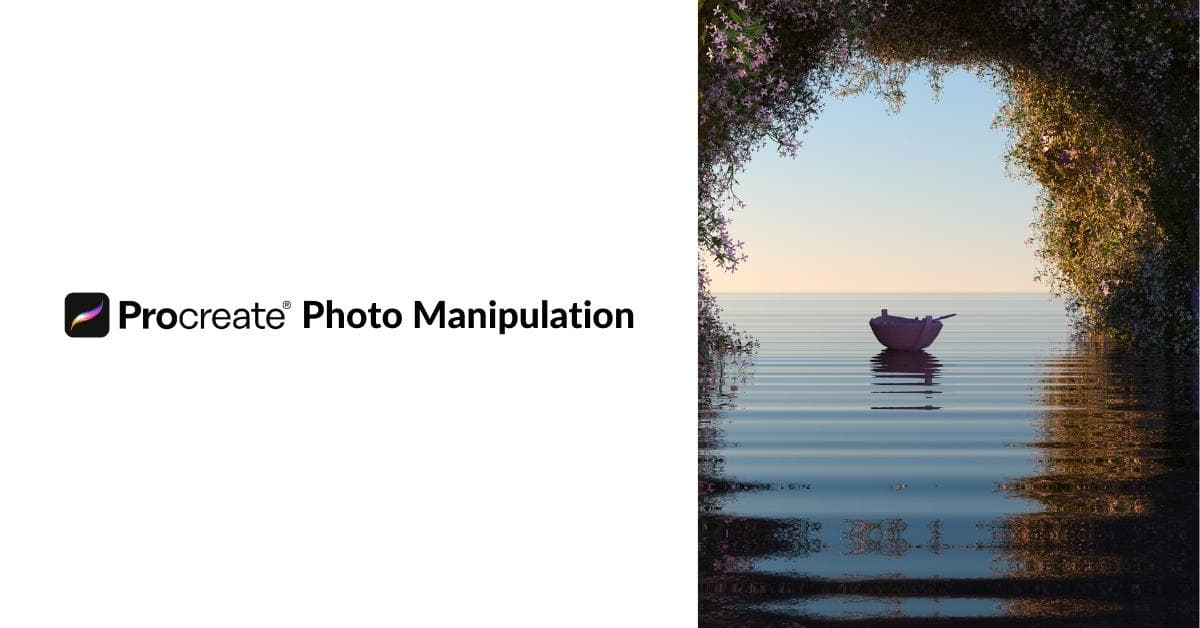
In the realm of digital artistry, Procreate has emerged as a powerful tool for photo manipulation. With its user-friendly interface and a plethora of features, Procreate offers artists and designers an excellent platform to craft stunning visual compositions. Whether you’re a seasoned artist or a budding enthusiast, this article will guide you through the ins and outs of Procreate photo manipulation.
Getting Started with Procreate Photo Manipulation
a. Setting Up Your Canvas:
Before diving into photo manipulation, configure your canvas. Procreate offers a wide range of presets, and you can customize the dimensions to suit your project. A high-resolution canvas is recommended for a crisp final result.
b. Importing Your Images:
Procreate makes it easy to import images. Whether it’s your own photographs or stock images, simply use the “Insert” option to add images to your canvas. You can manipulate multiple images at once, each on its own layer.
c. Understanding Procreate Tools:
Familiarize yourself with Procreate’s tools, including brushes, erasers, and the selection tool. The brush library is extensive, but you can also import custom brushes to cater to your specific needs.
Photo Manipulation Techniques in Procreate
a. Layers and Blend Modes:
Learn to work with layers and blend modes. Layers allow you to stack images and apply different effects to each, while blend modes control how layers interact. Experiment with overlay, multiply, and screen modes to achieve unique results.
b. Clipping Masks:
Clipping masks are essential for precise photo editing. They allow you to apply changes to one layer while keeping the others unaffected. This is particularly handy for seamlessly blending images.
c. Transformations and Perspective:
Procreate offers a suite of transformation tools to resize, rotate, and skew images. Maintain proper perspective when manipulating photos to ensure realistic outcomes.
d. Filters and Effects:
Explore Procreate’s vast selection of filters and effects. From Gaussian blur to noise, these tools can drastically change the mood and appearance of your images.
Creating Unique Effects
a. Non-destructive Editing:
Embrace non-destructive editing by duplicating layers before making major changes. This ensures that you can always revert to your original image.
b. Incorporating Textures and Overlays:
Add depth and complexity to your compositions by incorporating textures and overlays. Procreate supports various brushes and textures for a dynamic effect.
c. Color Grading and Adjustments:
Procreate provides robust color correction and grading tools. Adjust brightness, contrast, saturation, and color balance to achieve the desired aesthetic.
Advanced Tips and Tricks
a. Selections and Masking:
Learn the art of precise selections and masking. This allows you to isolate specific areas for targeted adjustments or compositing.
b. Fine-tuning Details:
Pay attention to minute details. Utilize Procreate’s zoom function and fine-tuned brushes for intricate touch-ups.
c. Lighting and Shadows:
Proper lighting and shadowing are critical for realistic photo manipulation. Experiment with Procreate’s brushes and blend modes to add depth and dimension.
Exporting Your Masterpiece
a. File Formats:
When you’re satisfied with your creation, select the appropriate file format for your purpose. Common choices include JPEG for web use, PNG for transparency, or PSD for further editing in Adobe Photoshop.
b. Preparing for Different Mediums:
Consider the medium where your artwork will be displayed. Ensure the resolution and color profile are compatible with your intended output, whether it’s for print, web, or social media.
FAQs
Q1. Can I use Procreate on a Windows PC or Android device?
A1. Procreate is exclusively available for iOS devices, such as the iPad. However, there are alternative software options for Windows and Android users, like Adobe Photoshop and Autodesk SketchBook.
Q2. How can I remove the background from a photo in Procreate?
A2. To remove the background from a photo, create a selection around the subject, then add a mask or use the Eraser tool. This will help isolate the subject from the background.
Q3. What’s the best way to learn Procreate photo manipulation techniques?
A3. You can explore online tutorials, courses, and Procreate’s official documentation. Practice and experimentation are crucial to mastering the software.
Q4. Are there copyright considerations when using stock images in Procreate?
A4. Yes, always check the licensing and usage terms of stock images. Some may require attribution, limit usage for commercial purposes, or have other restrictions.
Q5. Can Procreate handle large photo manipulation projects?
A5. Procreate is suitable for various project sizes, but for very high-resolution or complex tasks, it may have limitations. Consider using desktop software for such projects.
Conclusion
Procreate is a fantastic tool for photo manipulation, offering a plethora of creative possibilities. With the techniques and tips outlined in this guide, you’re well on your way to crafting impressive and captivating digital compositions. Remember that practice and experimentation are key to mastering the art of Procreate photo manipulation. So, grab your iPad and start exploring the world of digital artistry today!
This page was last edited on 19 February 2024, at 5:07 pm
