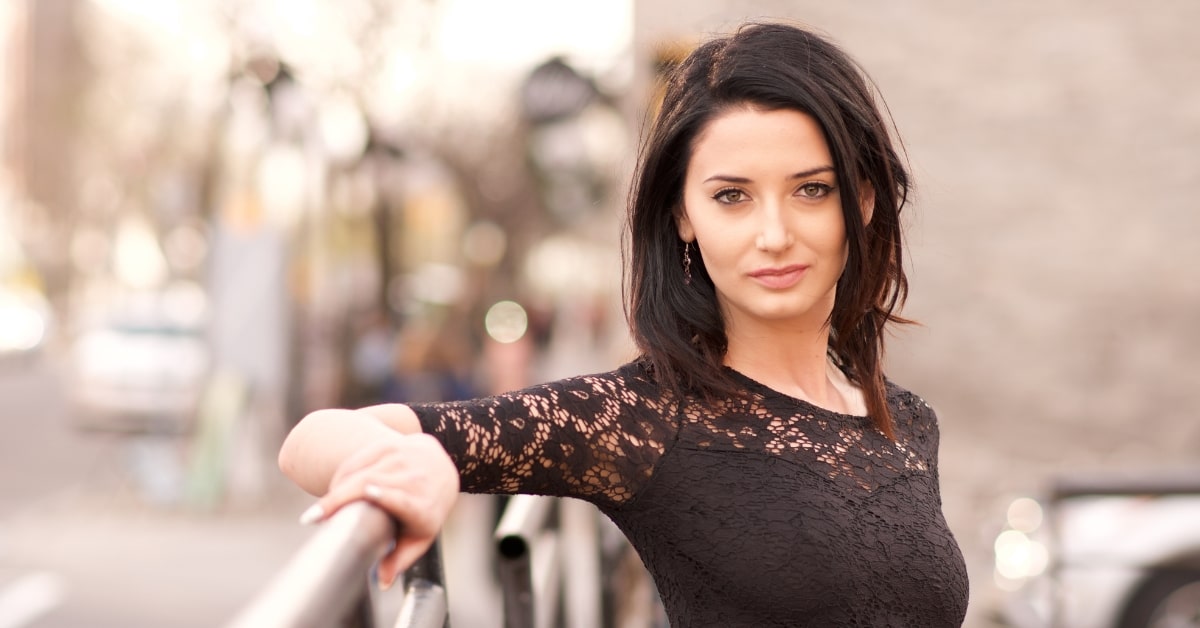
Portrait retouching is a transformative process that elevates portraits from ordinary to extraordinary. With the right photo editing techniques, even beginners can achieve professional-level results. In this tutorial, we’ll guide you through essential steps and tips for portrait retouching, using industry-standard tools like Adobe Photoshop.
Portrait Retouching: A Brief Overview
Portrait retouching involves refining and enhancing facial features, correcting imperfections, and achieving an overall polished look while maintaining the subject’s natural beauty. This tutorial will cover fundamental techniques to help you get started on your journey to mastering portrait retouching.
Step-by-Step Portrait Retouching Tutorial
This tutorial assumes a basic understanding of Adobe Photoshop. If you’re new to Photoshop, familiarize yourself with its interface and tools before proceeding.
Step 1: Import and Duplicate Layer
- Open Your Portrait in Photoshop:
- Import the portrait you want to retouch into Photoshop.
- Duplicate the Layer:
- Right-click on the background layer and select ‘Duplicate Layer’ to create a copy. This ensures you can always refer back to the original if needed.
Step 2: Basic Skin Retouching
- Zoom In for Detail:
- Zoom in on the face to work on finer details.
- Use Healing Brush Tool:
- Select the Healing Brush tool to remove blemishes, spots, and imperfections. Alt-click to sample clean areas for better results.
- Apply Skin Smoothing:
- Create a new layer, use the Gaussian Blur filter, and apply a mask to selectively smooth the skin while maintaining texture.
Step 3: Enhance Facial Features
- Brighten Eyes:
- Use the Dodge tool to brighten eyes, and the Burn tool to add depth.
- Whiten Teeth:
- Create a new layer, use the Sponge tool to desaturate, and adjust opacity for a natural whitening effect.
Step 4: Color Correction
- Use Color Balance:
- Adjust color balance to correct any unwanted color casts on the skin.
- Enhance Lips and Cheeks:
- Use the Brush tool to subtly enhance lip color and add a healthy glow to cheeks.
Step 5: Final Touches
- Apply Sharpening:
- Create a new layer, use the High Pass filter, and set the blending mode to Overlay for sharpening.
- Adjust Overall Lighting:
- Use Curves or Levels to fine-tune the overall lighting and contrast.
- Add a Vignette:
- Create a new layer, use the Elliptical Marquee tool, feather the selection, and apply a dark color for a subtle vignette.
FAQs
How long does it take to become proficient in portrait retouching?
Becoming proficient varies, but consistent practice and learning from tutorials can accelerate the process.
Can I use these techniques for group photos?
While the techniques apply to individual portraits, some adjustments may be needed for group photos.
Are there alternative software options for portrait retouching?
Yes, other software like Lightroom and Capture One offer portrait retouching features, though Photoshop is widely used for its versatility.
How do I maintain a natural look while retouching?
Regularly zoom out to assess overall progress, and avoid excessive smoothing or alterations to maintain a natural appearance.
Conclusion
Portrait retouching is both an art and a skill. With this tutorial, you’ve taken the first steps toward mastering the techniques that can transform your portraits. Remember, practice, experimentation, and a keen eye for detail are key to achieving exceptional results.
This page was last edited on 28 February 2024, at 11:52 am