Photo retouching is a powerful tool that allows photographers and image editors to enhance the visual quality of photographs. Whether you’re a professional photographer or an enthusiastic hobbyist, understanding the essential steps and techniques of photo retouching can take your images to the next level. In this article, we will explore the key steps involved in the photo retouching process, along with common techniques and tips to achieve stunning results.
Importance of Photo Retouching
Photo retouching is essential for several reasons:
- Enhanced Quality: It allows you to correct imperfections, enhance details, and improve the overall quality of an image.
- Professionalism: For businesses and individuals alike, retouching ensures a polished and high-quality look.
- Creativity: Retouching provides the opportunity to add artistic effects and creative enhancements to your photos.
Essential Steps in Photo Retouching
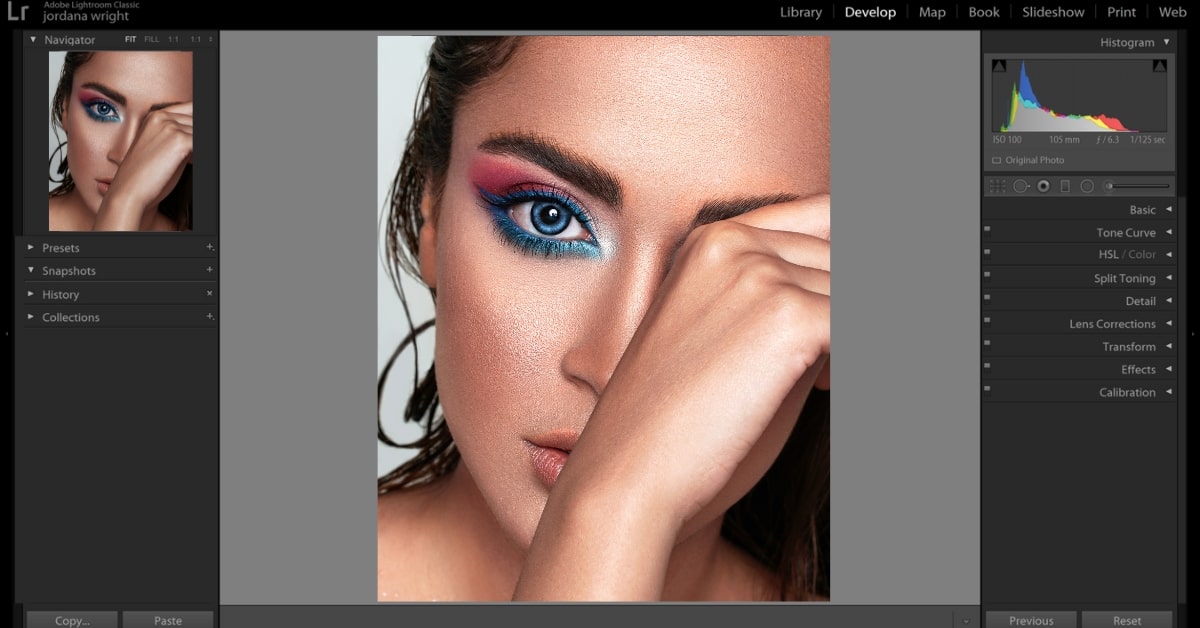
Master photo retouching with essential steps. From cleaning up imperfections to enhancing colors and details, achieve polished, professional-quality images through meticulous photo editing.
Step 1: Image Selection and Import
Choose the image you want to retouch and import it into your chosen editing software.
Step 2: Basic Adjustments
Start with basic adjustments, such as exposure, contrast, and sharpness, to improve overall image quality.
Step 3: Skin Retouching
Retouch skin to achieve a flawless, natural look. This may involve skin smoothing, blemish removal, and teeth whitening.
Step 4: Object Removal
Remove distracting or unwanted objects from the image to create a cleaner and more focused composition.
Step 5: Advanced Enhancements
Apply advanced enhancements like adding makeup, changing eye color, or adjusting hair to achieve your desired look.
Step 6: Color Correction
Correct color balance, saturation, and temperature to ensure accurate and appealing colors.
Common Photo Retouching Techniques
Common photo retouching techniques include skin smoothing, blemish removal, color correction, and background adjustments. These methods enhance images, ensuring professional-quality results.
Skin Smoothing
Smooth skin to achieve a flawless complexion by reducing wrinkles, fine lines, and imperfections.
Blemish Removal
Remove blemishes, acne, scars, and other skin imperfections for a natural and clean appearance.
Teeth Whitening
Brighten teeth to enhance smiles and overall facial appearance in portraits.
Background Enhancement
Enhance the background to make it more visually appealing, ensuring it complements the subject.
Tips for Successful Photo Retouching
- Practice Moderation: Avoid over-retouching, which can lead to unnatural results.
- Use Layers: Work on separate layers to maintain the original image’s integrity.
- Refer to Tutorials: Explore online tutorials and courses to improve your retouching skills.
- Seek Feedback: Ask for feedback from peers or colleagues to ensure your retouching remains natural.
Conclusion
Understanding the essential steps and techniques of photo retouching is a valuable skill for anyone looking to enhance their images, whether for personal or professional use. By following a structured retouching process and applying common techniques like skin smoothing and blemish removal, you can transform ordinary photos into captivating visual creations. With practice and a creative eye, you’ll be well on your way to mastering the art of photo retouching.
Frequently Asked Questions
While professional software offers more capabilities, you can achieve effective retouching with free or affordable editing tools.
The time required depends on the complexity of the retouching and your skill level. It can range from minutes to hours.
Yes, some tools and software are tailored to specific types of retouching, making the process more efficient.
While retouching can improve some aspects, it may not completely correct severe exposure or focus issues.
Both professionals and beginners can benefit from photo retouching to enhance their images and achieve better results.
This page was last edited on 3 April 2024, at 9:16 am