In the world of e-commerce, visual appeal plays a pivotal role in attracting customers. For apparel businesses, presenting clothing in a professional and engaging manner is crucial, and one technique that has gained prominence is the “neck joint” on ghost mannequin photography. This method allows products to be displayed without the mannequin, creating a clean, seamless look. In this article, we’ll delve into the intricacies of neck joint on ghost mannequin, exploring its benefits and providing step-by-step guidance for achieving flawless results.
Understanding Neck Joint on Ghost Mannequin
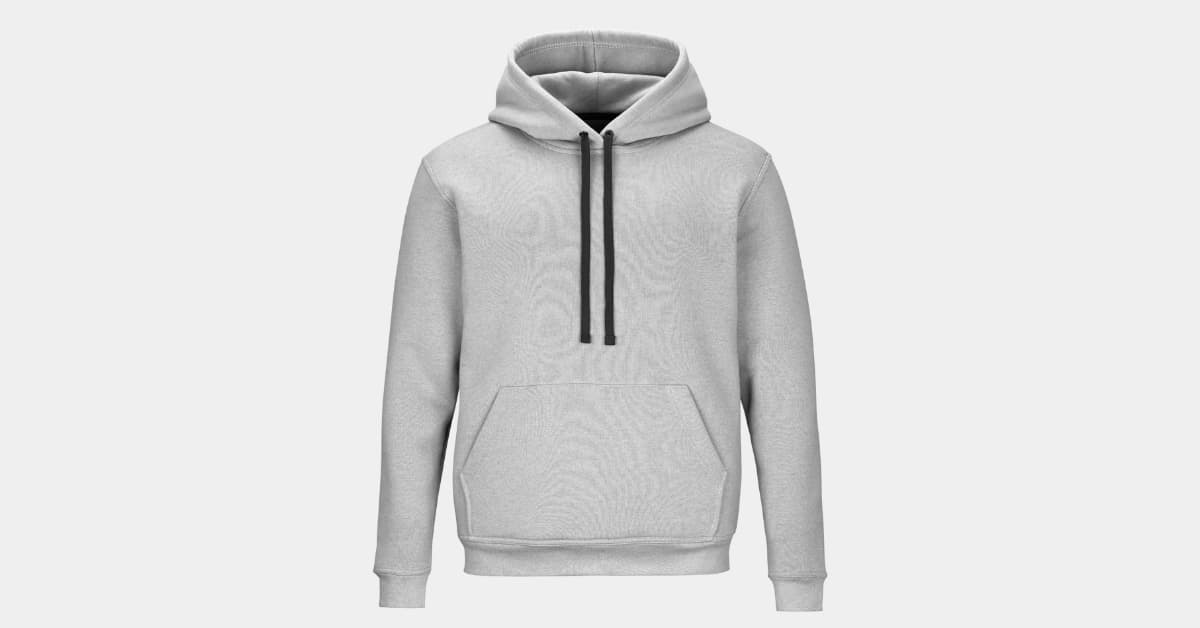
Neck joint, also known as invisible mannequin or ghost mannequin, involves photographing clothing on a mannequin and then digitally removing the mannequin in post-production. This technique is particularly popular in the fashion industry for showcasing garments in a lifelike manner while maintaining a focus on the product itself.
Benefits of Neck Joint on Ghost Mannequin
- Professional Aesthetics: The technique enhances the visual appeal of products, creating a polished and professional look that attracts potential buyers.
- Focus on the Product: With the mannequin removed, customers can better visualize the fit and design of the clothing item, leading to increased confidence in their purchasing decisions.
- Consistent Brand Image: Neck joint ensures consistency in the presentation of products, contributing to a cohesive and recognizable brand identity across all marketing channels.
- Versatility: This technique is applicable to various types of clothing, including shirts, dresses, jackets, and more, making it a versatile solution for diverse product catalogs.
Steps for Achieving a Perfect Neck Joint
- Capture Multiple Angles: Photograph the clothing item from different angles to ensure comprehensive coverage for the editing process.
- Maintain Consistent Lighting: Uniform lighting is essential to avoid discrepancies during post-production. Natural light or soft studio lighting is recommended.
- High-Quality Photography: Start with high-resolution images to retain the clarity and details needed for a realistic presentation.
- Remove Background: Use image editing software like Photoshop to carefully remove the mannequin, leaving only the garment.
- Editing Collar and Neck: Pay close attention to the collar and neck areas, adjusting shadows and highlights to ensure a seamless and natural appearance.
- Final Touches: Fine-tune the overall image, checking for any imperfections, and make color corrections to enhance the visual appeal.
FAQs
Can neck joint be applied to any type of clothing?
Yes, neck joint can be applied to a wide range of clothing items, including shirts, dresses, jackets, and more.
Do I need professional photography equipment for neck joint on ghost mannequin?
While professional equipment can enhance the quality of your images, it’s not mandatory. Focus on good lighting and a high-resolution camera for optimal results.
Are there any specific software requirements for editing neck joint images?
Adobe Photoshop is commonly used for neck joint editing due to its advanced features. However, other image editing software with similar capabilities can also be utilized.
How can I ensure consistency in my neck joint images across my product catalog?
Maintain a standardized photography setup, including lighting and camera settings, and follow a consistent editing process for all your images.
In conclusion, mastering the art of neck joint on ghost mannequin is a valuable skill for e-commerce businesses aiming to elevate their product presentation. By following the outlined steps and understanding the benefits, you can create visually appealing, professional, and consistent product images that leave a lasting impression on your customers.
This page was last edited on 27 February 2024, at 1:10 pm