In the world of fashion and product photography, the term “mannequin photo” holds significant importance. Whether you’re a budding photographer or a seasoned professional, capturing the essence of garments on a mannequin requires skill, creativity, and attention to detail. This article serves as a comprehensive guide to help you master the art of mannequin photography.
Understanding the Basics
Before delving into the intricacies of mannequin photography, it’s essential to grasp the basics. A mannequin, though an inanimate object, can be a powerful tool for showcasing clothing in a lifelike manner. Follow these steps to get started:
- Choosing the Right Mannequin:
Select a mannequin that complements the style of the clothing you’re photographing. Ensure that it fits the size and shape of the garments accurately. - Setting Up Your Space:
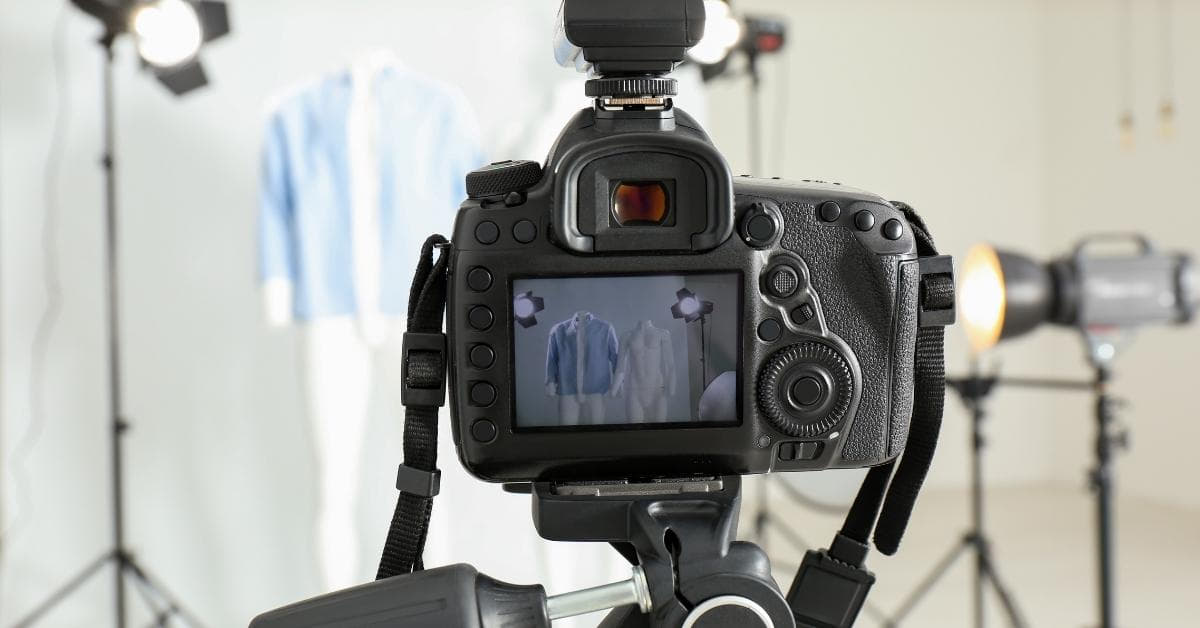
Create a dedicated space with ample natural light or use artificial lighting to illuminate the mannequin evenly. A clean and clutter-free background is crucial to draw attention to the clothing.
Tips for a Perfect Mannequin Photo
- Proper Garment Placement:
Dress the mannequin with care, ensuring that the clothing sits naturally and fits well. Pay attention to details like collar alignment and sleeve positioning. - Focusing on Details:
Zoom in on intricate details of the garments to showcase the quality and craftsmanship. This is particularly important for items with unique patterns, textures, or embellishments. - Utilizing Different Angles:
Experiment with various angles to find the most flattering perspective for the clothing. Capture shots from the front, back, and sides to provide a comprehensive view. - Editing Techniques:
Use photo editing software to enhance colors, remove distractions, and ensure a polished final image. However, be mindful not to over-edit, as this can misrepresent the actual appearance of the clothing.
FAQs
Q1: Why use a mannequin for photography instead of a model?
A: Mannequins offer a consistent and controlled representation of clothing, allowing customers to focus solely on the garment itself. Additionally, mannequins are available at all times, eliminating the need to coordinate with models.
Q2: How can I avoid reflections when photographing glossy materials on a mannequin?
A: Positioning your lighting strategically can help minimize reflections. Experiment with light placement and consider using polarizing filters to reduce glare on glossy surfaces.
Q3: What type of lighting is best for mannequin photography?
A: Natural light is ideal, but if not available, use soft, diffused artificial lighting to avoid harsh shadows. Continuous lighting or strobes with modifiers like softboxes can create a flattering and even illumination.
Q4: Can I use a colored background for mannequin photography?
A: While a neutral background is often preferred, experimenting with colored backgrounds can add creativity to your photos. Ensure the color doesn’t clash with the clothing and remains subtle.
Conclusion
Mastering mannequin photography is a valuable skill that can elevate your portfolio and attract potential clients. By understanding the basics, following essential tips, and addressing common concerns, you’ll be well-equipped to create captivating and visually appealing mannequin photos. Embrace creativity, stay consistent, and let your passion for photography shine through each image.
This page was last edited on 28 February 2024, at 4:12 pm