In the dynamic world of graphic design and photo editing, the transition from raster to vector images is a skill that empowers designers to create scalable and editable artworks. Inkscape, a free and powerful vector graphics software, is a go-to tool for this transformation. This tutorial aims to guide users through the Inkscape image to vector process, unraveling the steps and features that make it a versatile and accessible choice for graphic designers.
Inkscape Image to Vector Tutorial
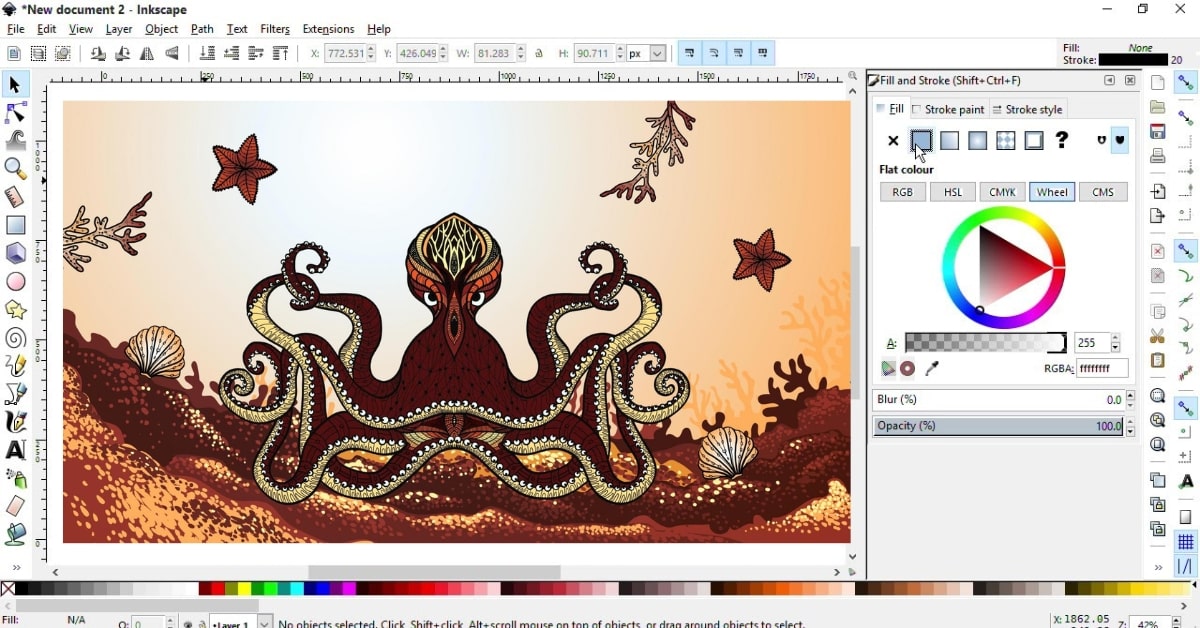
Convert images to vectors with Inkscape using our tutorial. Learn tracing techniques, adjust paths, and create scalable vector graphics for versatile and high-quality visuals.
Step 1: Import Your Image
Open Inkscape and import the raster image you want to convert into a vector format. Click on “File” and then “Import” to bring your image into the workspace.
Step 2: Select Your Image
Click on the raster image to select it. Ensure you have the image highlighted; you’ll see a bounding box around it.
Step 3: Trace Bitmap
Navigate to the “Path” menu in the top toolbar and select “Trace Bitmap.” This opens a dialog box with various options for tracing your image.
Step 4: Adjust Trace Settings
Experiment with settings such as “Brightness Cutoff,” “Threshold,” or “Colors” in the Trace Bitmap dialog box. These settings control the level of detail and accuracy in the vectorized output.
Step 5: Preview and Apply
Preview the changes in real-time using the “Update” button in the Trace Bitmap dialog box. Once satisfied with the preview, click “OK” or “Apply” to complete the trace.
Step 6: Edit the Vector Paths
After applying the trace, you will see the vectorized result overlaid on the original raster image. Use the various editing tools in Inkscape, such as the Node tool, Path tool, or Shape tools, to refine and adjust the vector paths as necessary.
Step 7: Save as Vector
Once you are satisfied with the vectorized result, save your file in vector formats such as SVG (Scalable Vector Graphics), AI (Adobe Illustrator), or EPS (Encapsulated PostScript).
Tips for Inkscape Image to Vector Conversion
- Experiment with Settings: Fine-tune the trace settings to achieve the desired level of detail and accuracy in the vectorized output.
- Use Editing Tools: Take advantage of Inkscape’s robust editing tools to customize and refine the vectorized paths.
- Layers and Organization: Use Inkscape’s layer system to organize and manage different elements of your vectorized image.
- Save Incrementally: Save your progress at different stages of the conversion process to maintain flexibility and revert back if needed.
Conclusion
Mastering the Inkscape image to vector conversion process unlocks a world of possibilities for graphic designers. By following this tutorial and understanding the tips provided, users can seamlessly transform raster images into scalable and editable vector graphics, ensuring versatility and precision in their design endeavors. Inkscape’s intuitive interface and powerful tools make it a valuable asset for creatives looking to elevate their graphic design capabilities.
Frequently Asked Questions
Can Inkscape accurately convert complex raster images into vectors?
Inkscape’s Trace Bitmap tool can handle various levels of detail, but complex images may require additional manual adjustments for optimal conversion.
Which vector formats are compatible with Inkscape for exporting converted files?
Inkscape supports exporting vectorized images in formats like SVG, AI, and EPS, ensuring compatibility with various design software.
Are there limitations to the size of the raster image that can be converted in Inkscape?
Inkscape can handle large raster images, but processing times might increase with larger file sizes.
Can I edit the vectorized image further in Inkscape or other design software?
Yes, vectorized images exported from Inkscape can be further edited within Inkscape or imported into other vector-based design software for additional modifications.
This page was last edited on 27 February 2024, at 11:20 am