Converting raster images to vector graphics is a common task in various design and illustration projects. Whether you’re a graphic designer, an illustrator, or someone looking to improve the quality and scalability of your images, knowing how to convert from raster to vector is a valuable skill. In this article, we will discuss the methods and techniques for this conversion, helping you make informed choices and create high-quality vector images.
Raster vs. Vector: Understanding the Difference
Before diving into the methods of conversion, let’s briefly explore the fundamental difference between raster and vector images.
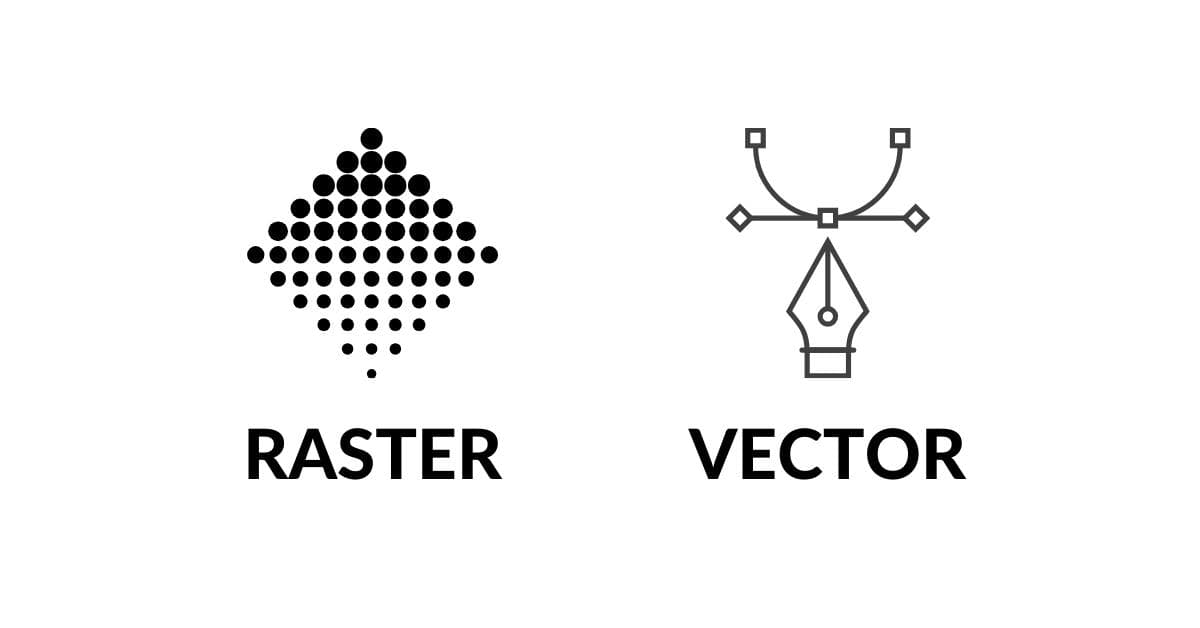
Raster images are composed of pixels, while vector graphics are made up of paths and shapes. The primary distinction is that raster images, like photographs, are resolution-dependent and can become pixelated when resized. In contrast, vector graphics can be scaled infinitely without any loss of quality, making them ideal for logos, illustrations, and graphics that need to maintain their sharpness and clarity across various sizes.
Method 1: Manual Tracing
Manual tracing, also known as vectorization by hand, involves using vector software like Adobe Illustrator to recreate a raster image as a vector. Here’s a step-by-step guide on how to perform manual tracing via photo editing:
- Import the Raster Image: Open your raster image in your vector software.
- Create a New Layer: This layer will contain your vectorized artwork.
- Use the Pen Tool: Carefully trace the shapes, lines, and details of your raster image using the Pen Tool.
- Adjust Anchor Points: Fine-tune your paths by adding, deleting, or adjusting anchor points.
- Apply Fill and Stroke: Select colors and strokes to fill and outline your vector shapes.
- Save as Vector File: Once you’re satisfied, save the vector file in your preferred format (e.g., SVG, AI).
Pros: Manual tracing allows for complete control and precision, making it ideal for complex or detailed raster images.
Cons: It’s time-consuming and requires a certain level of expertise.
Method 2: Automatic Vectorization Software
Several software applications offer automated vectorization tools that can convert raster images to vector format. Here’s how to use automatic vectorization software:
- Import Raster Image: Open the software and import your raster image.
- Choose Vectorization Option: Select the desired vectorization method (e.g., edge detection, color tracing, or centerline tracing).
- Set Parameters: Adjust parameters like accuracy, smoothing, and detail level.
- Execute Vectorization: Start the vectorization process and let the software do the work.
- Refine the Result: Review the vectorized image and make any necessary adjustments.
- Save as Vector File: Save the vector image in your preferred format.
Pros: Automatic vectorization is quicker and more accessible, making it suitable for simple conversions.
Cons: The results may not always be as precise as manual tracing, especially for complex images.
Method 3: Online Vector Conversion Tools
If you’re looking for a quick and simple solution, several online tools can convert raster images to vector format. Here’s a basic outline of how to use these tools:
- Upload the Raster Image: Visit an online vector conversion tool and upload your raster image.
- Select Vectorization Settings: Choose the vectorization options provided by the tool.
- Start the Conversion: Initiate the conversion process and wait for the tool to complete it.
- Download the Vector Image: Once the conversion is finished, download the vector file to your computer.
Pros: Online tools are user-friendly and don’t require software installation.
Cons: The quality of the conversion may vary depending on the tool used, and some tools may have limitations on image size or complexity.
FAQs
Q1: Which file formats are commonly used for vector images?
A1: Common vector image formats include SVG, AI (Adobe Illustrator), EPS, and PDF.
Q2: Can I convert a photograph into a vector image?
A2: Yes, you can convert a photograph into a vector image using vectorization methods, but the result may not retain the same level of detail and realism as the original photograph.
Q3: What are the advantages of vector graphics over raster images?
A3: Vector graphics are resolution-independent, can be scaled without loss of quality, and are ideal for logos, illustrations, and designs that need to be resized frequently.
Q4: Are there any free online tools for raster to vector conversion?
A4: Yes, several free online tools offer raster to vector conversion. Some popular options include Vector Magic, Online Convert, and Convertio.
Q5: Which vectorization method is best for complex images?
A5: For complex images, manual tracing is often the best choice, as it provides greater control and precision over the conversion process.
Conclusion
Converting from raster to vector is a valuable skill for anyone working with images, from graphic designers to illustrators. Depending on the complexity of your image and your level of expertise, you can choose between manual tracing, automatic vectorization software, or online conversion tools. Each method has its advantages and limitations, so it’s essential to select the one that best suits your project’s needs. With the right approach, you can create high-quality vector graphics that are both versatile and scalable.
We hope this article has been informative and helped you understand the methods of converting from raster to vector. If you have any more questions or need further assistance, feel free to explore the frequently asked questions (FAQs) above or reach out for help. Happy vectorizing!
This page was last edited on 25 February 2024, at 12:43 pm
