In the world of presentations, PowerPoint has long been the go-to tool for creating visually compelling and engaging slideshows. However, to truly stand out and captivate your audience, it’s essential to harness advanced techniques like image masking. This versatile feature allows you to blend images seamlessly, creating eye-catching effects that can transform your presentation. In this article, we’ll dive deep into image masking in PowerPoint templates, exploring its uses, techniques, and best practices for creating remarkable slides.
What is Image Masking in PowerPoint?
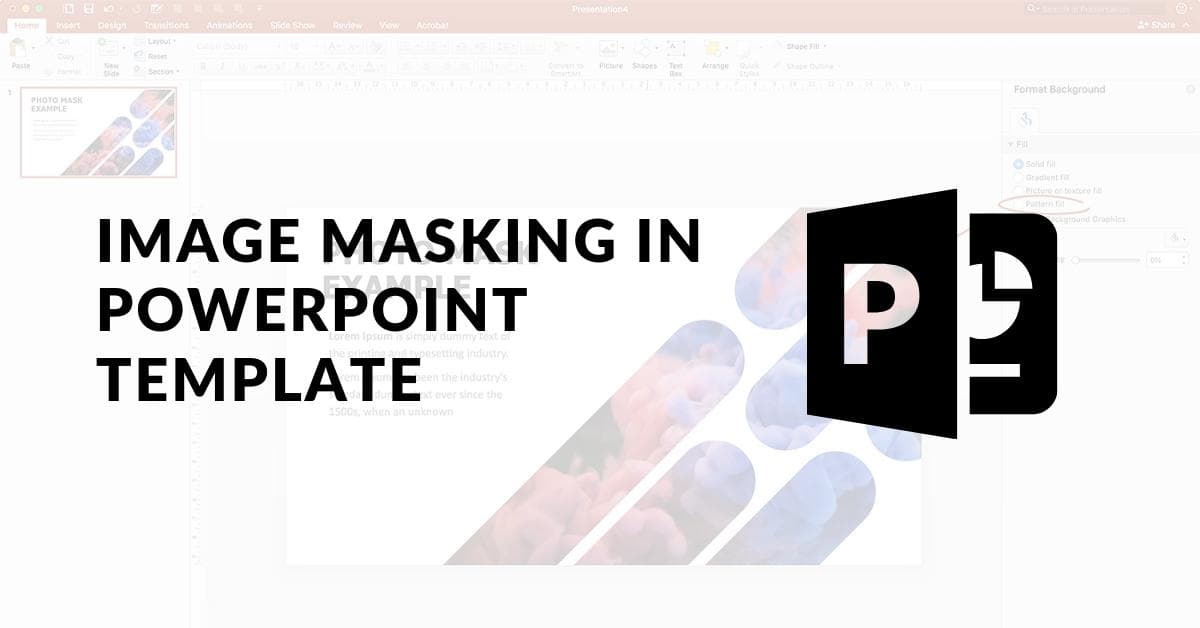
Image masking is a powerful feature in PowerPoint that enables you to combine multiple images seamlessly. It works by using a “mask” image to reveal specific portions of another image, allowing you to create intricate blends and transitions between images. This image editing technique can be particularly useful when you want to merge two images harmoniously, revealing one image through the shape or outline of another.
Why Use Image Masking in PowerPoint Templates?
Image masking in PowerPoint templates offer the following benefits:
1. Enhancing Visual Appeal
Image masking adds depth and sophistication to your presentations, making them visually captivating and engaging.
2. Telling a Story
By creatively combining images through masking, you can effectively narrate a story or highlight a concept.
3. Highlighting Key Information
Image masking can be used to draw attention to a specific part of an image or emphasize key information.
4. Creating Unique Templates
Utilizing image masking in your templates helps your presentations stand out and leaves a lasting impression on your audience.
How to Apply Image Masking in PowerPoint: Step-by-Step Guide
To apply image masking in PowerPoint, follow these steps:
- Insert Your Images:
Start by inserting the images you want to mask onto your slide. - Select the Image to Mask:
Click on the image you wish to apply the mask to. - Choose the Mask Shape:
Under the “Format” tab, select the “Crop” tool and choose the desired shape for your mask (e.g., rectangle, circle, custom shape). - Position and Resize the Mask:
Adjust the position and size of the mask as needed. - Apply the Mask:
Click “Crop” again to apply the mask, revealing the image underneath in the shape you’ve chosen. - Fine-Tune and Animate:
Fine-tune the mask’s position, size, and any additional effects. You can also apply animations for dynamic effects.
Creative Applications of Image Masking
Image masking offers endless creative possibilities in PowerPoint. Here are some ways to leverage this feature:
- Image Transitions:
Create smooth transitions between images to tell a story or show a transformation. - Text Integration:
Combine images with text to make your message more impactful and memorable. - Artistic Effects:
Use masking to add artistic and abstract effects to your visuals. - Interactive Slides:
Design interactive slides that reveal information as the audience clicks or scrolls.
Best Practices for Effective Image Masking
To ensure your image masking efforts yield impressive results, consider these best practices:
- Maintain Consistency:
Ensure that the masked images align with the overall theme and style of your presentation. - Simplicity is Key:
Don’t overcomplicate your masks; often, a simple mask is more effective. - Balance and Harmony:
Aim for a harmonious blend between the masked and unmasked images. - Practice and Experiment:
Experiment with different shapes, sizes, and effects to find what works best for your content.
FAQs
Q1: Can I use image masking in older versions of PowerPoint?
A1: Yes, image masking is available in older versions of PowerPoint, although some advanced features may vary.
Q2: Are there pre-designed image masking templates available?
A2: Yes, you can find pre-designed templates with image masking effects to save time and enhance your presentations.
Q3: Can I animate masked images in PowerPoint?
A3: Absolutely! You can apply animations to both the masked and unmasked images for dynamic effects.
Q4: Is image masking suitable for all types of presentations?
A4: Image masking can enhance various presentations, but it’s most effective when used to illustrate concepts or tell visual stories.
In conclusion, image masking in PowerPoint templates is a valuable technique that can take your presentations to the next level. By following the steps outlined in this guide and embracing creativity, you’ll be well-equipped to captivate your audience with stunning visuals and engaging content. So, go ahead and explore the endless possibilities of image masking in PowerPoint to create unforgettable presentations.
This page was last edited on 20 February 2024, at 4:13 pm