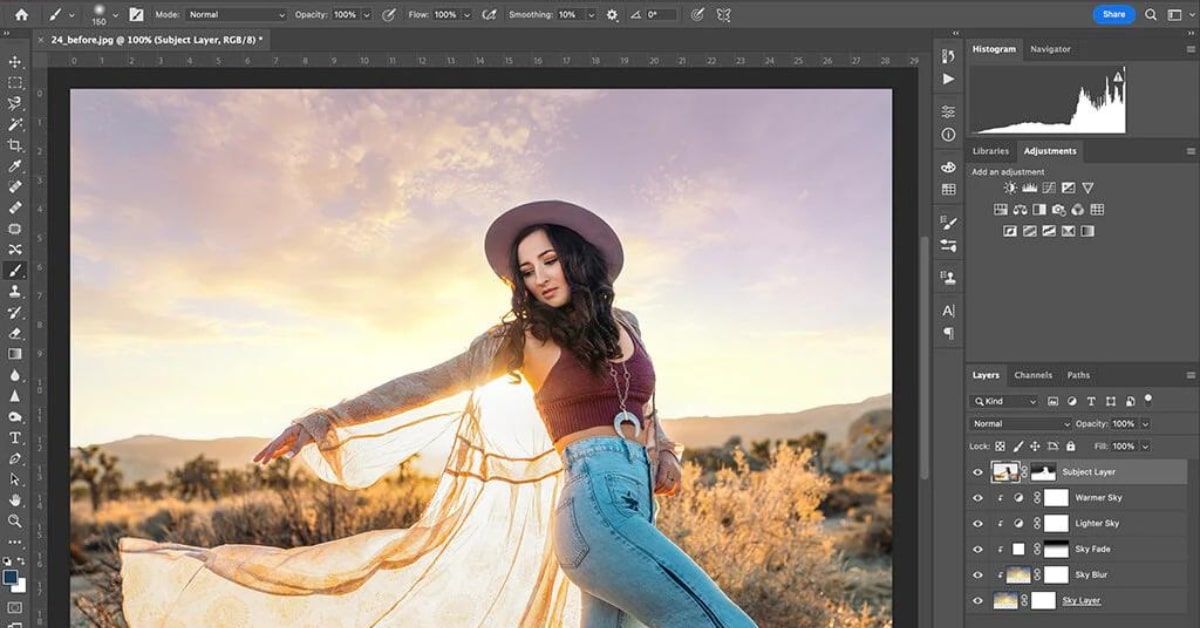
Adobe Illustrator is a powerful graphic design tool, and one of its versatile features is the ability to use clipping masks. Clipping masks allow you to reveal or hide portions of an image using a defined shape. However, what if you need to replace the image within a clipping mask while retaining the same shape and dimensions? In this article, we’ll explore how to replace an image in a clipping mask in Illustrator, step by step.
What is Clipping Masks in Illustrator?
Before we dive into the process of replacing images in clipping masks, it’s essential to understand what clipping masks are. A clipping mask is a non-destructive way to reveal or hide portions of an image, illustration, or object using a defined shape. It’s widely used in graphic design and photo editing for various effects and compositions.
Why Replace Images in Clipping Masks?
There are several reasons why you might need to replace an image within a clipping mask. It could be due to updates, corrections, or a desire to change the visual content while retaining the same layout and shape. Knowing how to do this efficiently can save time and maintain design consistency.
Step-by-Step Guide to Replacing an Image in a Clipping Mask
Select the Clipping Mask
Open your Illustrator project and locate the clipping mask containing the image you want to replace. Click on the clipping mask to select it.
Ungroup the Clipping Mask
To access the image within the clipping mask, you’ll need to ungroup it. Go to the “Object” menu, select “Ungroup,” and then “Release” to break apart the mask.
Select the Image to Replace
After ungrouping, select the image within the clipping mask that you want to replace. Make sure it’s isolated from the rest of the artwork.
Place the New Image
Go to the “File” menu and choose “Place” to import your new image. Resize and position it as needed.
Reapply the Clipping Mask
With the new image in place, select both the new image and the clipping mask shape. Then, go to the “Object” menu, choose “Clipping Mask,” and select “Make” to reapply the mask.
Tips for Efficiently Replacing Images in Clipping Masks
- Keep the dimensions and aspect ratio of the new image consistent with the original.
- Use the “Direct Selection Tool” to precisely select the image within the mask.
- Save a backup of the original project before making any changes.
Creative Uses of Image Replacement in Clipping Masks
Replacing images within clipping masks can be creatively applied in various projects, such as updating product photos, swapping profile pictures, or changing artwork elements while maintaining the same design structure.
Conclusion
Knowing how to replace images within clipping masks in Illustrator is a valuable skill for graphic designers and artists. It allows for updates and changes in visual content while preserving the original layout and shape. Whether you’re working on product catalogs, digital illustrations, or any creative project, this technique can help maintain design consistency and efficiency.
FAQs
Can I replace images within multiple clipping masks simultaneously?
No, you’ll need to replace images within each clipping mask individually.
Are there any limitations to the size of images I can use in a clipping mask?
Images should ideally be large enough to cover the entire shape within the mask.
Can I replace images with different file formats in a clipping mask?
Yes, Illustrator supports various image file formats for replacement.
This page was last edited on 20 February 2024, at 2:38 pm
