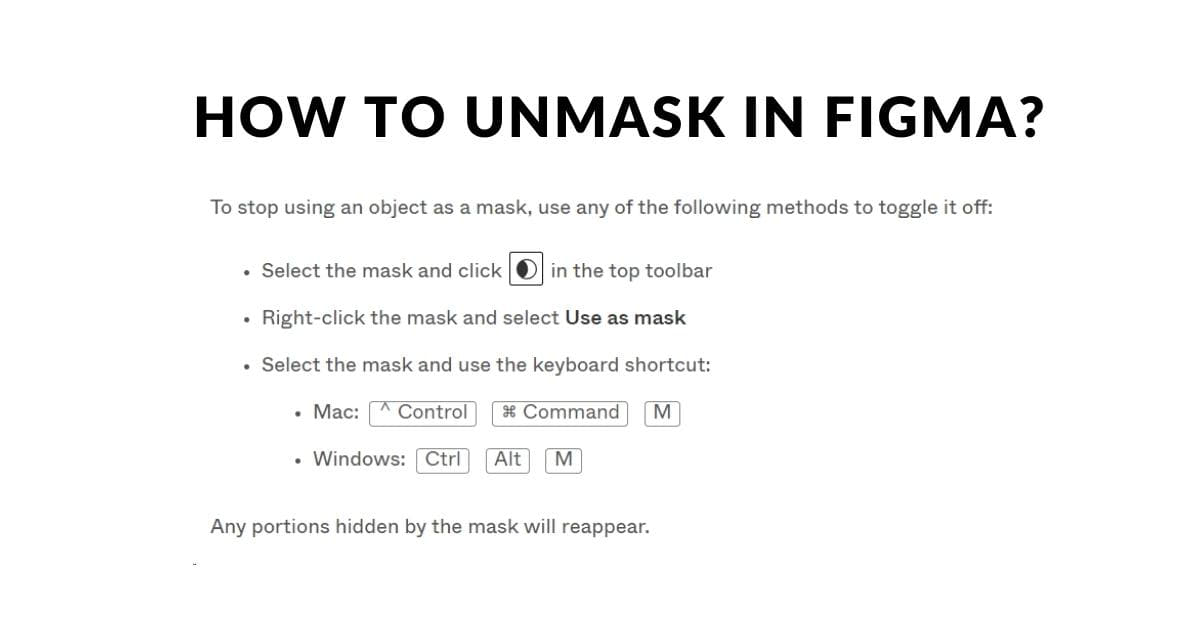
Figma is a powerful design tool that empowers designers to create stunning and user-friendly digital interfaces. One essential skill for Figma users is knowing how to unmask elements. Unmasking allows you to reveal hidden content and make your designs more versatile and visually appealing. In this article, we’ll walk you through the process of unmasking in Figma, step by step.
What is Unmasking in Figma?
Unmasking in Figma is the process of revealing content that is hidden within a frame. This image editing technique is particularly useful when you want to create dynamic and interactive designs, like pop-up windows, tooltips, or animated elements. Unmasking gives your designs a more polished and professional look.
Why is Unmasking Important?
Unmasking is essential for various reasons:
- Interactive Design: It allows you to create interactive elements that reveal content on user interaction.
- Visual Hierarchy: Unmasking helps establish a clear visual hierarchy in your designs.
- Engagement: It makes your designs more engaging and user-friendly.
Step-by-Step Guide on How to Unmask in Figma
a. Select the Frame: Open your Figma project and select the frame containing the content you want to unmask.
b. Create the Mask: In the right sidebar, find the ‘Design’ section and click on the ‘Mask’ option. Now, draw a shape over the area you want to reveal. This shape will act as a mask.
c. Adjust the Mask: You can fine-tune the position and size of the mask by selecting it and dragging its handles. Make sure it covers the content you want to reveal.
d. Reveal the Hidden Content: Inside the masked frame, place the content you want to unveil. This content will only appear within the boundaries of the mask when you preview or share the prototype.
Tips for Effective Unmasking
- Use contrasting shapes and colors to make the masked content stand out.
- Experiment with different types of masks, like circles, rectangles, or custom shapes, to create unique effects.
- Pay attention to the timing and transitions when using unmasking for animations.
- Test your designs with actual users to ensure that the unmasking elements are intuitive and user-friendly.
FAQs
Q1. Can I unmask multiple elements at once?
Yes, you can unmask multiple elements simultaneously. Group the elements you want to reveal, and then create a mask that covers the entire group.
Q2. Can I animate unmasking in Figma?
Absolutely. Figma offers animation capabilities. You can create smooth animations by adjusting the mask’s position, size, and opacity over time. Experiment with the prototype feature to see your animations in action.
Q3. How do I make unmasking responsive for different screen sizes?
To ensure your unmasking works well on different devices, use Figma’s constraints and layout grids. This allows your masked content to adapt to various screen sizes.
Q4. Is there a limit to the number of masks in a Figma frame?
There is no strict limit to the number of masks you can use in a single frame. However, be cautious about using too many, as it can affect the performance and organization of your design.
In conclusion, mastering the art of unmasking in Figma can take your design skills to the next level. It allows you to create visually appealing and interactive designs that engage users and enhance their experience. Follow our step-by-step guide and experiment with different masking techniques to unlock the full potential of this feature. Happy designing!
This page was last edited on 20 February 2024, at 4:31 pm
