Color grading is an essential step in the post-processing of your photographs, enhancing their visual appeal and storytelling capabilities. Adobe Lightroom is a powerful tool that allows you to manipulate colors and create the perfect atmosphere for your images. In this article, we will guide you through the process of color grading in Lightroom, step by step.
Understanding Color Grading
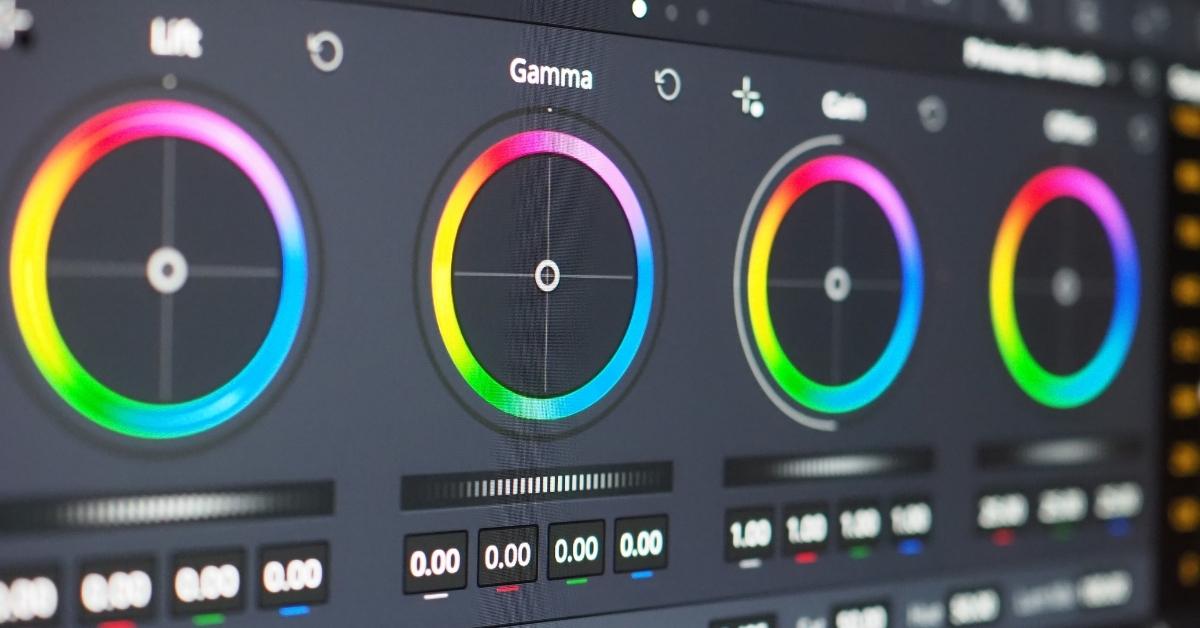
Color grading is the process of adjusting and enhancing the colors in your images to achieve a particular mood or style. It’s a crucial step in photo editing, as it can completely transform the way your photos are perceived.
Getting Started with Lightroom
Before you can start color grading, you need to open your image in Adobe Lightroom. If you’re new to Lightroom, follow these steps to import your image:
- Open Lightroom.
- Click on the “Import” button.
- Select the image you want to edit and click “Import.”
The Basics of Color Grading
- Select your image in the Library module.
- Go to the Develop module.
- Find the “Basic” panel on the right side of the screen.
- Adjust the exposure, contrast, highlights, shadows, whites, and blacks to your liking.
Utilizing the HSL Panel
The HSL (Hue, Saturation, and Luminance) panel allows you to control specific colors in your image.
- Select the HSL/Color panel.
- Use the sliders to modify the Hue, Saturation, and Luminance of individual colors.
Creating a Custom Color Grading Look
To give your image a unique and appealing color grading style, you can:
- Use the Split Toning panel to add different colors to the highlights and shadows.
- Adjust the Tone Curve for precise control over color channels.
- Apply presets for instant color grading styles.
Fine-Tuning and Exporting
- After you’ve achieved the desired color grading look, fine-tune other settings like sharpening, noise reduction, and lens corrections.
- Once satisfied, export your image by clicking on the “File” menu and selecting “Export.”
FAQs
Q1: Can I undo color grading changes in Lightroom?
Yes, Lightroom is a non-destructive editor, which means you can always go back and modify your edits or reset to the original image.
Q2: How can I match the color grading across multiple photos?
You can synchronize the settings from one image to multiple others in Lightroom. Select the images you want to apply the same settings to, right-click, and choose “Sync Settings.”
Q3: Are there any shortcuts for faster color grading?
Yes, Lightroom provides shortcuts for various adjustments. For example, you can use the “Ctrl + Alt + S” shortcut to open the HSL panel.
Q4: What are the recommended export settings for sharing images online?
For web sharing, choose the JPEG format with sRGB color space, and set the resolution to 72 pixels per inch. This ensures your images look great on the web.
Q5: Are there any recommended resources for learning advanced color grading techniques?
You can explore online tutorials, courses, or photography forums to learn advanced color grading techniques in Lightroom. Adobe also offers official tutorials on their website.
Conclusion
Mastering color grading in Lightroom can significantly elevate your photography. With these steps, you’re well on your way to creating stunning and visually engaging images. Remember, practice makes perfect, so keep experimenting and refining your color grading skills to achieve the desired results. Happy editing!
This page was last edited on 10 January 2024, at 5:33 pm