Creating striking printed materials depends on more than just choosing the right images. Correcting and balancing the colors in your images is a critical step to ensure the final product looks as vibrant and true to life as possible. In this guide, we’ll aim to answer the question How To Color Correct And Balance Your Images For Printing? Then, we will walk you through the process of color correction and balancing for printing, providing you with essential tips and techniques to make your images stand out.
Understanding Color Correction
Before diving into color correction, it’s essential to understand what it is. Color correction is the process of adjusting the colors in an image to ensure they look accurate and consistent when printed. This is necessary because the way colors appear on a digital screen can differ from how they appear in print.
Tools for Color Correction
When it comes to color correction, you can use various image editing tools and software, but Adobe Photoshop is one of the most popular and versatile options. Photoshop provides you with a wide range of features to adjust color, including:
- Levels: Adjust the brightness, contrast, and tonal range of your image.
- Curves: Fine-tune color and contrast using a graph.
- Hue/Saturation: Modify the color intensity and saturation.
- Color Balance: Correct color casts and balance your image.
- Color Grading: Add creative effects while correcting colors.
The Color Balancing Process
To achieve optimal color balance for printing, follow these steps:
a. Open Your Image: Import your image into Photoshop or your preferred editing software.
b. Adjust Levels: Use the Levels adjustment to adjust the black and white points for the image. This helps in setting the correct tonal range.
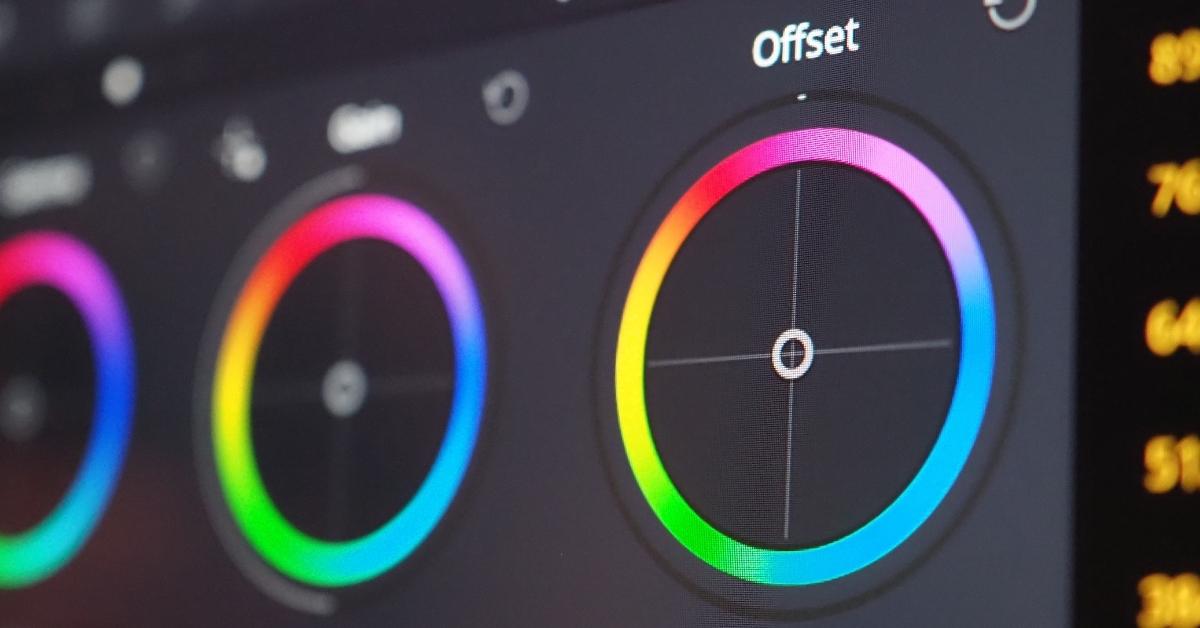
c. Correct Color Balance: Utilize the Color Balance tool to adjust the balance between the primary colors: red, green, and blue. This tool is crucial for eliminating color casts.
d. Fine-Tune with Curves: The Curves adjustment enables you to fine-tune color and contrast further.
e. Hue/Saturation: Adjust the color intensity and saturation as needed.
f. Proofing: Always use the proofing option in Photoshop to simulate how your image will appear when printed. This ensures your adjustments are accurate for the printing process.
Tips for Perfect Color Printing
- Use a high-quality monitor calibrated for color accuracy.
- Work in a color-managed environment.
- Use the appropriate color profile for the type of printer and paper you’ll be using.
- Regularly calibrate your printer.
- Save your image in the correct color mode (CMYK for most print jobs).
- Print test samples to check for accuracy before running a large batch.
FAQs
Q1: Why is color correction essential for printing?
A1: Color correction ensures that the colors in your printed images match your intentions and appear consistent and vibrant.
Q2: Do I need to be a professional to perform color correction?
A2: No, anyone can learn to perform basic color correction with the right software and guidance. However, professionals can achieve more advanced results.
Q3: Can I use free software for color correction?
A3: Yes, there are free software options available, but professional tools like Adobe Photoshop offer more advanced features for precise color correction.
Q4: What is color profile and why is it important for printing?
A4: A color profile defines how colors are represented in a digital image. It is crucial for ensuring color consistency between your screen and the printed output.
Q5: How do I choose the right paper for printing?
A5: The choice of paper depends on the type of image, desired finish, and printing method. Consult with your print service provider for recommendations.
Conclusion
In conclusion, this article has tried to answer the question How To Color Correct And Balance Your Images For Printing? Achieving the perfect color balance for printing is essential for making your printed materials visually appealing and true to your vision. By understanding the color correction process, using the right tools, and following best practices, you can ensure your images look vibrant and professional when they come to life on paper.
This page was last edited on 22 February 2024, at 10:26 am