When it comes to showcasing your product photos, adding shadows can make a significant difference. Shadows can give your product images depth and a professional, polished look. Whether you’re an e-commerce seller or a photographer, this guide will walk you through the process of adding shadows in Photoshop for your product photos. By the end of this article, you’ll be well-equipped to enhance your product images and captivate your audience.
Why Adding Shadows is Essential
Shadows can help make your product photos look more realistic, engaging, and aesthetically pleasing. They create a sense of depth and dimension, making the product appear three-dimensional on a two-dimensional screen.
Setting Up Your Workspace
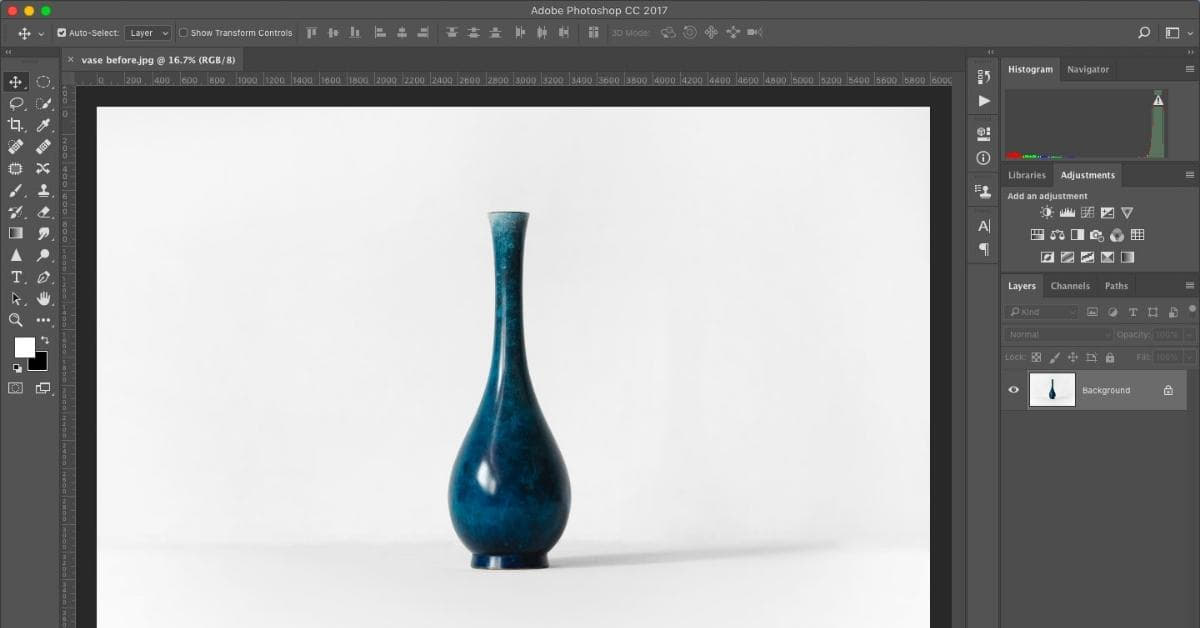
Before you start, open your product image in Adobe Photoshop. Create a new layer for your shadow to maintain flexibility and prevent permanent changes to your original image. To do this, go to “Layer” > “New” > “Layer.”
Duplicating the Layer
Duplicate your product layer by right-clicking on the layer and selecting “Duplicate Layer.” This will create a copy of your original product image on a new layer. This duplicate layer is where you will add your shadow.
Creating the Shadow
With the duplicate layer selected, go to “Image” > “Adjustments” > “Brightness/Contrast.” Adjust the brightness and contrast sliders to make the duplicate layer darker. This will form the basis of your shadow.
Refining the Shadow
To give your shadow a more realistic shape, use the “Transform” tool by pressing “Ctrl + T” (Windows) or “Cmd + T” (Mac). Adjust the perspective and size of the shadow to align with the light source in your image.
Blurring and Softening
To soften the shadow and make it more natural, go to “Filter” > “Blur” > “Gaussian Blur.” Adjust the radius to your preference, ensuring the shadow appears softer but not overly blurred.
Adding the Shadow to Your Product
Position the shadow layer beneath the product layer by dragging it in the Layers panel. Experiment with the opacity of the shadow layer to achieve the desired level of transparency.
Final Touches
To blend the shadow even further, consider using the “Eraser” tool with a soft brush to remove any harsh edges. You can also add a layer mask to refine the shadow further.
Saving Your Edited Image
Once you’re satisfied with the shadow, save your image in the desired format. Ensure you save a high-quality version for use in your product listings or website.
FAQs
Q1: Can I add a shadow to any type of product photo?
A1: Yes, you can add a shadow to almost any product photo, as it enhances the visual appeal and depth. However, the type and intensity of the shadow may vary based on the product and the desired effect.
Q2: Are there any alternative methods to add shadows to product photos?
A2: Yes, there are alternative methods such as using natural lighting during photography or utilizing other photo editing software. However, Photoshop offers precise control and flexibility.
Q3: Can I add multiple shadows to a single product photo?
A3: Yes, you can add multiple shadows by duplicating the shadow layer and adjusting each one separately. This can create complex lighting effects.
Q4: What is the best type of shadow for product photos?
A4: The best type of shadow depends on the product and the desired effect. Common choices include drop shadows, cast shadows, and reflections.
Conclusion
Adding shadows in Photoshop is a valuable skill that can enhance your product photos, making them more appealing to your audience. By following the steps outlined in this article and experimenting with different settings, you can create realistic shadows that add depth and professionalism to your product images. Whether you’re an e-commerce seller, a photographer, or a graphic designer, mastering this technique can significantly improve the visual impact of your product photos. So, start adding shadows to your product photos today and watch your images come to life!
This page was last edited on 25 February 2024, at 12:47 pm