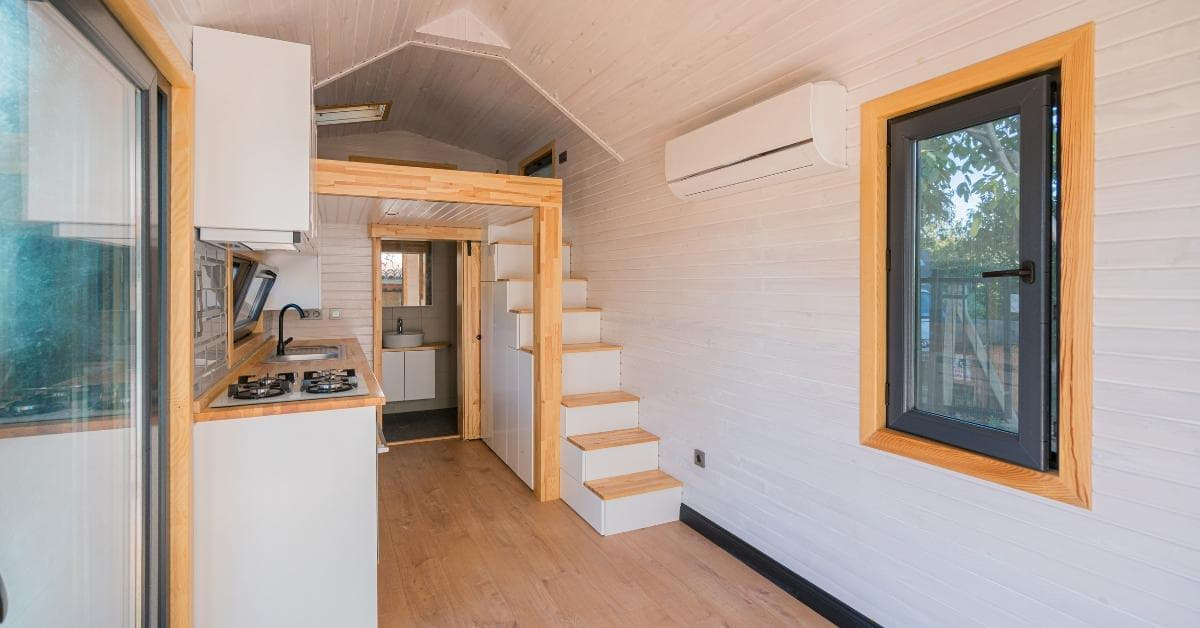
In the competitive realm of real estate, the visual appeal of your property can make all the difference. One key element in showcasing a home’s true potential is through crisp and inviting photos. In this guide, we’ll explore various techniques to ensure your real estate photos stand out, attracting potential buyers and making a lasting impression.
Capturing Crisp Photos for Real Estate
Embarking on the journey to showcase a property’s charm through captivating images requires a keen eye and technical finesse. In the realm of real estate photography, the key to making a lasting impression lies in mastering the art of capturing crisp and inviting photos.
1. Invest in a Quality Camera:
Owning a good camera is the first step towards achieving crisp photos. While smartphone cameras have come a long way, a DSLR or a mirrorless camera can provide more control over settings, resulting in sharper images.
2. Use a Tripod:
Stability is crucial for crisp photos. Invest in a sturdy tripod to eliminate camera shake, especially in low light conditions. This ensures every detail is captured with precision.
3. Optimize Lighting Conditions:
Natural light is your best friend in real estate photography. Schedule your photo sessions during the golden hours—early morning or late afternoon—when the sunlight is soft, creating a warm and inviting atmosphere.
4. Compose Thoughtfully:
Pay attention to composition. Use wide-angle lenses to capture more space and showcase the property’s layout. Straight lines and balanced compositions add a professional touch to your photos.
5. Utilize HDR Techniques:
High Dynamic Range (HDR) photography helps balance the exposure in different areas of your photo. Combine multiple shots taken at different exposures to capture details in both shadows and highlights.
6. Post-Processing:
Use photo editing software to enhance your images further. Adjusting contrast, brightness, and sharpness can make your photos pop. Be mindful not to over do the photo editing, as natural-looking photos are more appealing.
FAQs
Q1: What camera settings are ideal for real estate photography?
Answer: Use a low ISO setting (100-400), a narrow aperture (f/8-f/11) for depth of field, and a slow shutter speed (with a tripod) to capture the best details.
Q2: Can I use a smartphone for real estate photography?
Answer: While smartphones can produce decent photos, a dedicated camera provides more control and higher image quality. Consider a smartphone with advanced camera features if using a dedicated camera is not feasible.
Q3: How important is staging in real estate photography?
Answer: Staging is crucial. Ensure rooms are tidy, clutter-free, and well-lit. Thoughtful staging helps potential buyers envision themselves in the space.
Q4: Are there any specific tips for interior photography?
Answer: Yes, focus on capturing the unique features of each room. Use a wide-angle lens, and position yourself in corners to showcase the entire space. Ensure proper lighting to highlight room details.
Q5: What should I do if the weather is unfavorable for outdoor shots?
Answer: Consider rescheduling for a day with better weather. Alternatively, use editing software to enhance the sky and overall appearance of the outdoor shots.
Conclusion
Mastering the art of real estate photography requires a combination of the right equipment, thoughtful composition, and post-processing techniques. By following these tips, you’ll be well on your way to capturing crisp and inviting photos that showcase properties in the best light possible.
This page was last edited on 28 February 2024, at 9:35 am
