In an era dominated by e-commerce, the visual appeal of your product photography can significantly impact customer engagement. The good news is, you don’t need a professional studio to capture stunning product images. With some creativity and strategic planning, you can achieve high-quality results right in the comfort of your home.
Setting the Stage: Creating Your DIY Photography Setup
- Choose the Right Space: Pick a well-lit area with ample natural light. A room with large windows can serve as an excellent backdrop for your home studio.
- Backdrops and Surfaces: Invest in or create neutral backdrops such as white, black, or gray. You can use materials like paper rolls, fabric, or even a clean wall.
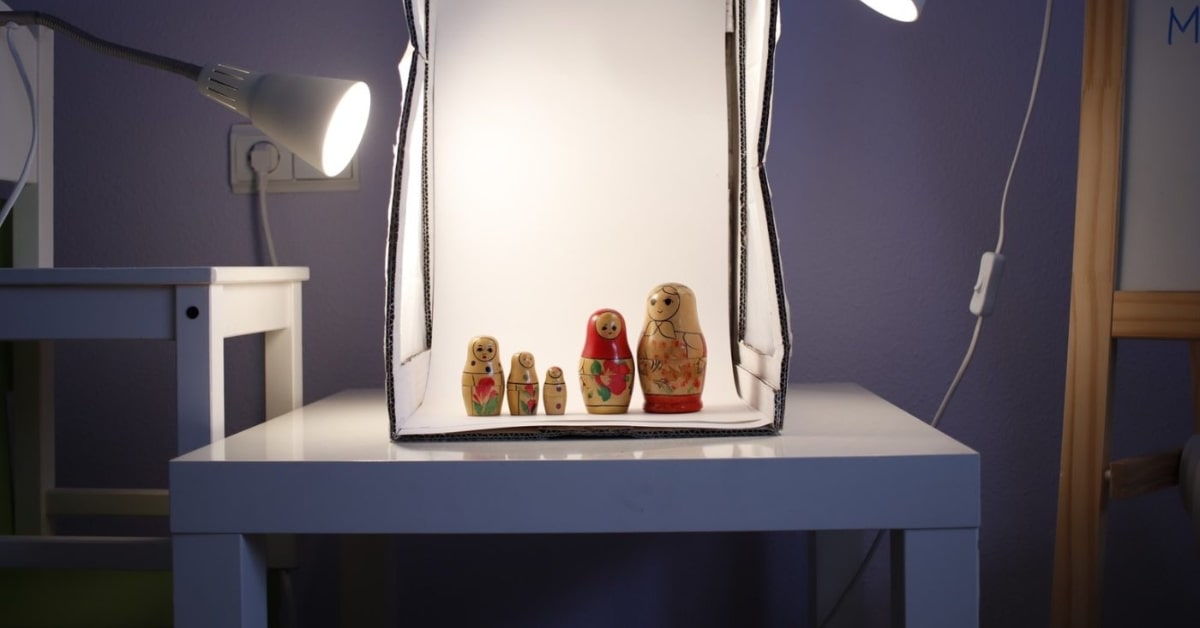
- Lighting Essentials: Natural light is your best friend. Set up your shooting area near a window to utilize soft, diffused light. Consider supplementing with artificial lights like softboxes or ring lights if needed.
- DIY Reflectors: Enhance lighting by using DIY reflectors made from foam boards or aluminum foil to bounce light onto the product from different angles.
Choosing the Right Camera and Equipment
- Camera Selection: While professional DSLRs are ideal, modern smartphones with high-quality cameras can produce impressive results. Focus on composition and lighting.
- Tripod Stability: Use a tripod to ensure your camera or smartphone remains stable during the shoot, reducing the risk of blurry images.
Arranging and Styling Your Products
- Clean and Prep Products: Ensure your products are clean and free from any dust or imperfections before shooting.
- Composition: Experiment with different angles and arrangements. Highlight key features of the product and consider telling a story through your images.
- Props and Accessories: Integrate props and accessories relevant to your product to add context and interest to your shots.
Capturing the Perfect Shot
- Focus and Depth of Field: Use the autofocus feature on your camera or smartphone and experiment with depth of field to create a professional look.
- Avoid Digital Zoom: Instead of using digital zoom, physically move closer to the subject to maintain image quality.
- Multiple Shots: Take a series of shots from different angles and distances to ensure you have options during the editing process.
Editing and Enhancing Your Images
- Software Options: Use photo editing software like Adobe Lightroom or free online tools to refine colors, adjust exposure, and fine-tune your images.
- Consistency is Key: Maintain a consistent editing style for a cohesive look across your product catalog.
Conclusion
With a bit of creativity and attention to detail, product photography at home is not only achievable but can also yield professional-looking results. By following these tips and considering the FAQs, you’ll be well on your way to creating captivating images that showcase your products in the best light possible.
FAQs
Can I use my smartphone for product photography at home?
Absolutely! Modern smartphones have advanced cameras capable of capturing high-quality images. Focus on good lighting and composition.
What is the best backdrop for home product photography?
Neutral backdrops like white, black, or gray work well. You can use paper rolls, fabric, or clean walls for a professional look.
Do I need professional lighting equipment for home product photography? While natural light is ideal, you can achieve good results using a combination of natural light and affordable artificial lights like softboxes or ring lights.
How can I enhance my product photos after shooting?
Utilize photo editing software to adjust colors, exposure, and other elements. Consistent editing across your images creates a polished and professional look.
This page was last edited on 28 February 2024, at 10:19 am