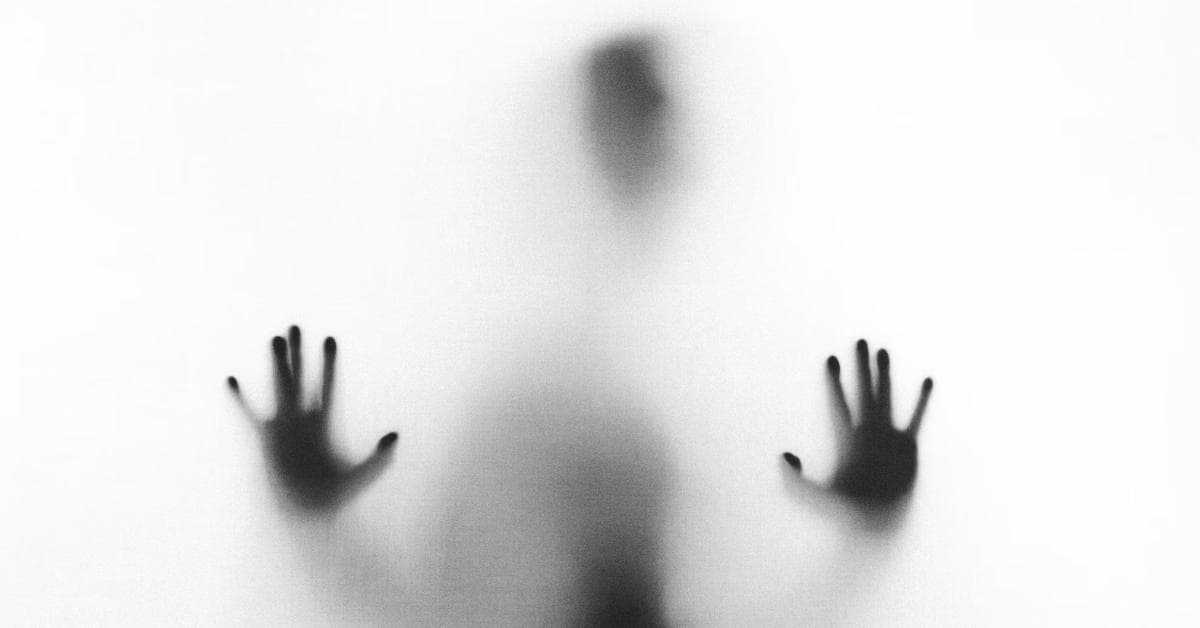
In the world of graphic design and photo editing, Adobe Photoshop stands as an unrivaled powerhouse. This versatile software can be used to create stunning visuals, manipulate images, and bring our wildest imaginations to life. One of the most captivating and spine-tingling genres within Photoshop art is horror manipulation. Whether you’re an amateur looking to add a spooky flair to your pictures or a seasoned designer aiming to perfect your macabre creations, this article will guide you through the intricate process of horror manipulation in Photoshop.
What is Horror Manipulation in Photoshop?
Horror manipulation in Photoshop is the art of transforming ordinary images into eerie, unsettling, or terrifying masterpieces. It involves a combination of digital editing techniques to create an atmosphere of dread, suspense, and fear. This genre allows artists to explore their darker, more imaginative sides and produce images that send shivers down viewers’ spines.
Step-by-Step Guide to Horror Manipulation in Photoshop
Embark on a chilling journey through the twisted corridors of creativity as we unravel the intricate process of horror manipulation in Adobe Photoshop. In the following steps, we’ll guide you in crafting spine-tingling visuals that will haunt the imagination.
Step 1: Choosing the Right Image
Start by selecting a base image that suits your horror theme. Images with low lighting, mysterious settings, or creepy elements work well. This could be a forest at night, an abandoned house, or even a close-up of a person.
Step 2: Adjusting Image Quality
To set the tone for your horror manipulation, make adjustments to the image quality. Lower the brightness and contrast to create a gloomy atmosphere. You can also desaturate the image slightly to remove vivid colors.
Step 3: Adding Gradients
Introduce gradient overlays to your image to add depth and ambiance. Dark, moody colors work best for creating an eerie setting. Experiment with gradients to find the right balance that gives your image a sinister edge.
Step 4: Manipulating Shadows and Highlights
Manipulating shadows and highlights is crucial for horror manipulation. Darken certain areas to create shadows, and brighten others to make your image pop. This step will add an eerie three-dimensional quality to your artwork.
Step 5: Incorporating Textures
To enhance the haunted feel of your image, overlay textures like cracked surfaces or scratches. These textures add a sense of age and decay to your image, making it more unsettling.
Step 6: Adding Horror Elements
Now, it’s time to introduce the horror elements that will send chills down your viewers’ spines. This could be ghosts, zombies, or any other sinister figure. You can either create your own or use stock images for this purpose.
Step 7: Blending and Masking
Properly blend the horror elements into your image. Utilize layer masking to make sure they seamlessly integrate with the background. Adjust the opacity and blending modes as necessary to achieve a realistic and spine-tingling effect.
Step 8: Fine-Tuning
The devil is in the details. Pay close attention to minor adjustments like color corrections, lighting, and minor retouching to perfect your horror manipulation.
Step 9: Adding Filters and Effects
Apply filters and effects to enhance the overall mood. Adding noise or a vignette can intensify the horror ambiance, making your image even more unsettling.
Step 10: Saving and Exporting
Once you’re satisfied with your creation, save your work in a high-quality format like TIFF or PNG to preserve the image’s integrity.
FAQs
Q1: Is it necessary to be a Photoshop expert to try horror manipulation?
No, beginners can also explore horror manipulation in Photoshop. There are many online tutorials and resources available to help you learn and improve your skills.
Q2: Can I use free stock images for my horror manipulation projects?
Yes, you can use free stock images as long as you respect the image licenses and give proper attribution if required.
Q3: What are some common horror elements to add to my images?
Common horror elements include ghosts, zombies, blood, shadows, and eerie landscapes. You can experiment with these elements to create a unique atmosphere.
Q4: How do I create a vintage horror look in Photoshop?
To achieve a vintage horror look, adjust the colors to give a faded, aged appearance, and use textures that mimic old, weathered photographs.
Q5: Are there any specific brushes or tools for horror manipulation?
While there are no specific brushes or tools for horror manipulation, you can find Photoshop brushes and actions that can simplify some aspects of the process.
Conclusion
Horror manipulation in Photoshop is a fascinating and spooky avenue for graphic designers and digital artists. With the right techniques and creativity, you can transform ordinary images into haunting works of art. By following this step-by-step guide and experimenting with different horror elements, you can create images that send shivers down the spines of viewers. So, dive into the world of horror manipulation and unleash your darkest, most creative side in Photoshop.
This page was last edited on 19 February 2024, at 5:15 pm
