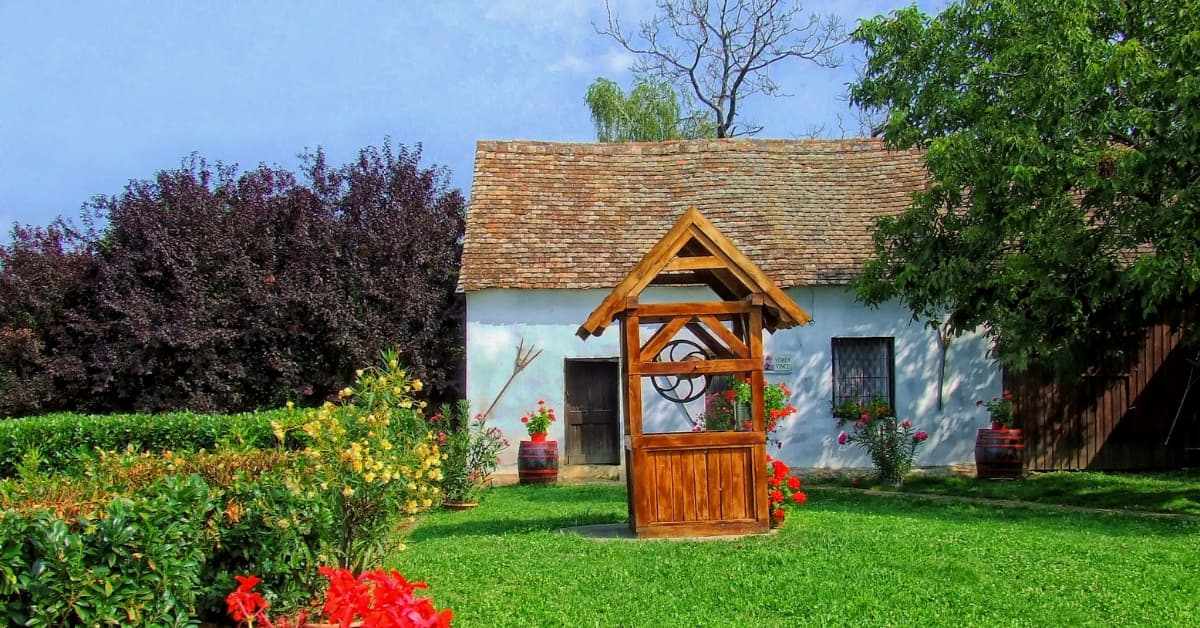
In the ever-evolving world of real estate marketing, capturing the attention of potential buyers is paramount. High Dynamic Range (HDR) photo editing has emerged as a powerful tool to showcase properties in the best light possible, literally and figuratively. This article delves into the intricacies of HDR photo editing for real estate, offering insights, tips, and techniques to elevate your property images.
What is HDR Photo Editing?
HDR photo editing involves combining multiple exposures of the same scene to capture a broader range of light and detail. This technique ensures that both the brightest and darkest areas of an image are well-exposed, resulting in a visually stunning photograph.
Why is HDR Important for Real Estate Photography?
Real estate photography often involves challenging lighting conditions, with interiors being darker than exteriors. HDR helps balance these extremes, providing a more accurate representation of how the human eye perceives the space. This leads to more appealing and realistic property images.
Steps for Effective HDR Photo Editing
Embarking on effective HDR photo editing is a transformative journey for real estate imagery. Let’s explore the essential steps that elevate your property photos from ordinary to extraordinary.
1. Capture Bracketed Exposures:
- Take a series of photos at different exposure levels to cover the entire dynamic range.
- Use a tripod to maintain consistency across the shots.
2. Select the Right Software:
- Choose a reliable HDR software or photo editing tool like Adobe Lightroom or Photomatix.
- Import your bracketed shots into the software.
3. Merge Exposures:
- Use the software to merge the bracketed exposures into a single HDR image.
- Adjust the tone-mapping settings for a natural and realistic look.
4. Fine-Tune the Image:
- Adjust the white balance, highlights, shadows, and contrast to enhance the overall appearance.
- Be cautious not to over-process, aiming for a balanced and natural outcome.
5. Remove Distractions:
- Pay attention to details and remove any distracting elements that may detract from the property’s appeal.
- Use the cloning or healing tools to clean up imperfections.
6. Export in the Right Format:
- Save the final image in a high-quality format suitable for online and print use.
- Consider using JPEG for online listings and TIFF for print materials.
FAQs
Is HDR suitable for all types of real estate photography?
While HDR is beneficial for most real estate scenarios, it may not be necessary for well-lit exteriors. However, for interiors with challenging lighting conditions, HDR can significantly enhance the final result.
Can I achieve HDR effects without professional software?
Yes, many free or mobile apps offer basic HDR capabilities. However, for more control and superior results, investing in professional software is recommended.
How can I avoid the “over-processed” look in HDR images?
Careful post-processing is crucial. Avoid excessive saturation, unnatural colors, and extreme contrasts. Strive for a balanced and realistic representation of the property.
Are there any specific considerations for HDR in real estate video?
Yes, similar principles apply to HDR video. Use a stable tripod, capture bracketed video clips, and employ video editing software with HDR capabilities.
Conclusion
Mastering HDR photo editing for real estate is a valuable skill that can make your property listings stand out in a crowded market. By following these steps and considering the FAQs, you’ll be well-equipped to create stunning, true-to-life images that captivate potential buyers and leave a lasting impression.
This page was last edited on 25 February 2024, at 11:58 am
