In the realm of e-commerce and fashion photography, the ghost mannequin technique in Photoshop has emerged as a powerful tool, transforming flat images into captivating, three-dimensional representations. This innovative approach not only enhances the visual appeal of clothing but also streamlines the product photography process. Let’s explore the intricacies of the ghost mannequin technique and how it can be wielded effectively using Photoshop.
Understanding the Ghost Mannequin Technique in Photoshop
The ghost mannequin technique involves capturing images of clothing on a mannequin and then using Photoshop to seamlessly remove the mannequin, leaving behind a hollow or “ghost” effect. This technique is particularly popular in the fashion industry, where it allows garments to be displayed with a lifelike fit and form, sans the distraction of a visible model or mannequin.
Photoshop Advantage
Adobe Photoshop stands out as the go-to tool for implementing the ghost mannequin technique. Its robust features and versatility make it an ideal choice for photographers and retouchers aiming to achieve a professional and polished look in their product images. From basic retouching to advanced manipulations, Photoshop provides the tools necessary to bring the ghost mannequin technique to life.
Step-by-Step Guide to Ghost Mannequin Technique in Photoshop
- Capture the Base Image: Start by photographing the garment on a mannequin from different angles. Ensure proper lighting to highlight details.
- Import Images to Photoshop: Upload the images into Photoshop and create layers for each angle, aligning them perfectly.
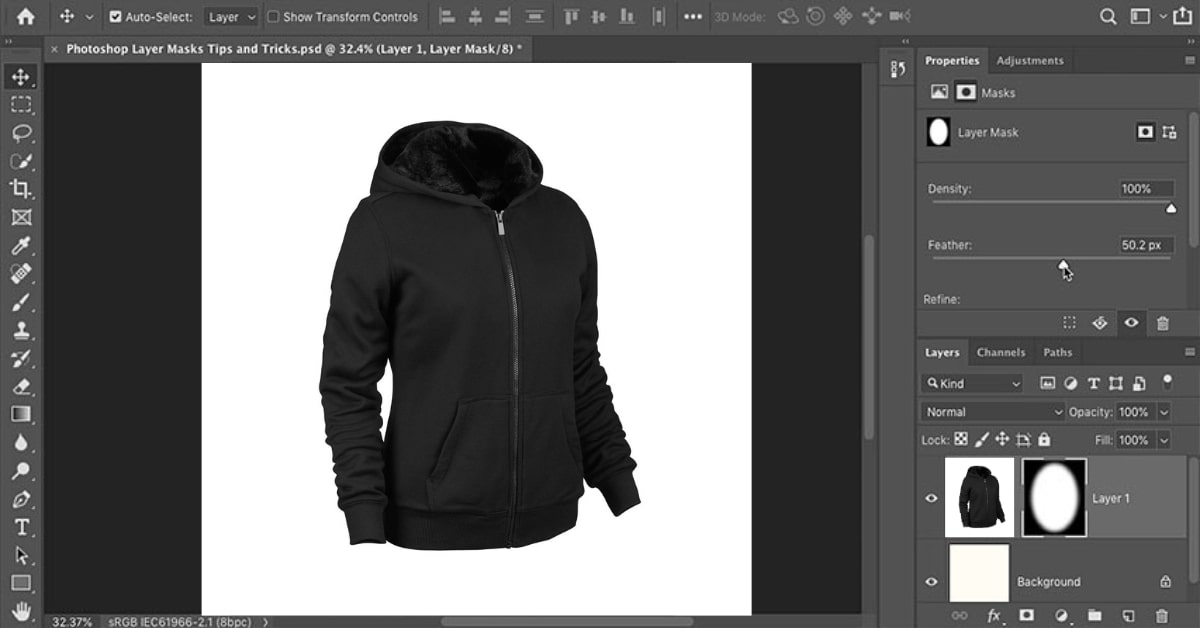
- Mannequin Removal: Use the pen tool to carefully trace around the mannequin, creating a path. Create a layer mask and hide the mannequin, leaving only the clothing visible.
- Adjustment and Blending: Fine-tune the image by adjusting colors, shadows, and highlights to create a seamless blend between layers.
- Hollow Effect: If desired, create a “hollow” effect by removing the back of the garment, showcasing its interior details.
- Final Touches: Polish the image by addressing any imperfections, enhancing details, and ensuring a consistent look.
Benefits of Ghost Mannequin Technique in Photoshop
- Cost-Efficiency: Eliminates the need for live models, saving on model fees and allowing for consistent product imagery.
- Consistency Across Catalogs: Ensures a uniform style and format across all product images, contributing to brand coherence.
- Versatility: Suitable for a wide range of garments, from shirts and dresses to swimwear and outerwear.
- Time-Saving: Streamlines the photography and image editing process, enabling quicker turnover of product images.
Conclusion
Mastering the ghost mannequin technique in Photoshop opens up a world of possibilities for e-commerce retailers and fashion photographers. By harnessing the power of this technique, businesses can elevate their product imagery, captivate their audience, and stand out in the competitive online market.
FAQs
Is the ghost mannequin technique only for clothing?
While commonly used for clothing, the ghost mannequin technique can be applied to various products like accessories, footwear, and even certain home goods.
Do I need advanced Photoshop skills to use the ghost mannequin technique?
Basic Photoshop skills are sufficient, but for intricate details, it’s advisable to consult a professional or invest time in learning more advanced techniques.
Can the ghost mannequin technique be applied to images taken with different cameras?
Yes, the technique can be applied to images taken with different cameras, but it’s essential to maintain consistency in lighting and angles for optimal results.
Are there any online tutorials for mastering the ghost mannequin technique in Photoshop?
Yes, numerous online tutorials provide step-by-step guidance, catering to both beginners and experienced users.
This page was last edited on 22 February 2024, at 4:41 pm