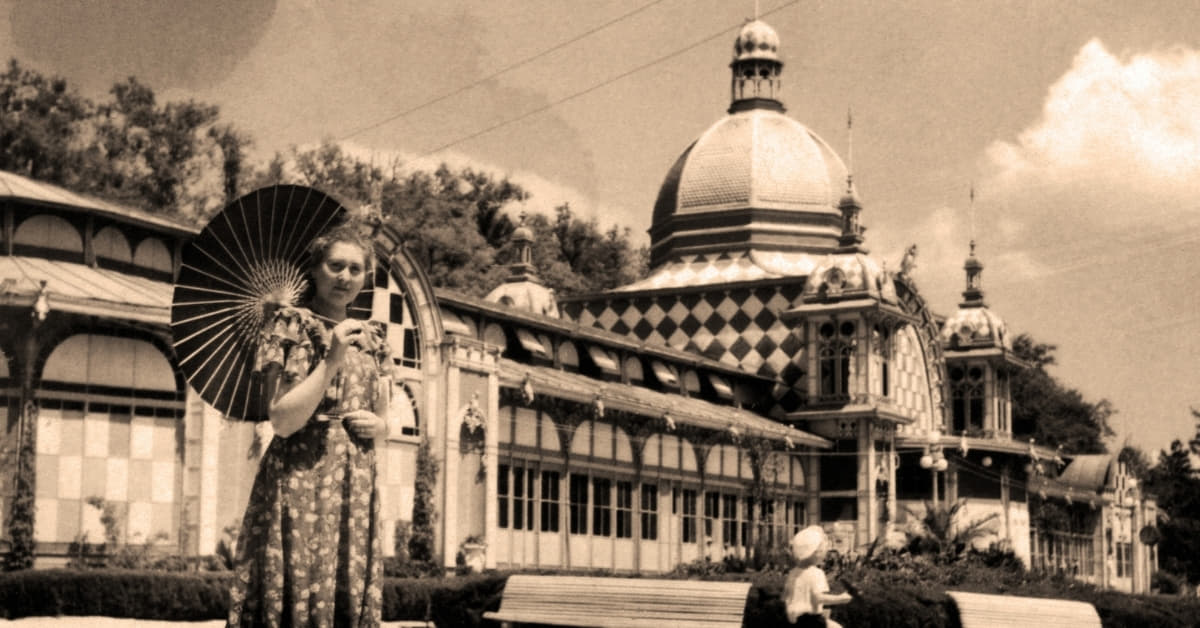
In the digital age, preserving and enhancing old photographs has become more accessible than ever. Whether you want to breathe new life into family heirlooms or simply refresh your personal photo collection, learning how to edit old photos can be a rewarding skill. In this guide, we’ll walk you through the steps to revive and enhance your cherished memories.
Understanding the Necessity of Editing Old Photos
Old photographs, while holding sentimental value, often suffer from wear and tear. Fading, discoloration, and scratches are common issues that can be addressed through photo editing techniques. Additionally, advancements in technology now allow us to add vibrancy, correct exposure, and bring out details that may have been lost over time.
Step-by-Step Guide to Editing Old Photos
Embark on a transformative journey as we delve into how to edit photos, unraveling the secrets to reviving cherished memories through the art of digital enhancement. From digitization to creative touches, discover the systematic approach to breathe new life into your nostalgic photographs.
1. Digitize Your Photos:
- Scan your old photos to create digital copies.
- Choose a high-resolution setting for better editing results.
2. Organize Your Files:
- Create a folder system to keep your photos organized.
- Label files with relevant information like date and event.
3. Choose the Right Editing Software:
- Select a user-friendly photo restoration software like Adobe Photoshop, Lightroom, or free alternatives like GIMP.
- Familiarize yourself with the basic functions of the chosen software.
4. Adjust Exposure and Color Balance:
- Correct exposure issues to enhance overall brightness.
- Balance color tones to revive the original vibrancy of the image.
5. Remove Scratches and Blemishes:
- Utilize the cloning tool to eliminate scratches, dust, and other imperfections.
- Take a meticulous approach to maintain the authenticity of the photo.
6. Enhance Sharpness and Detail:
- Use sharpening tools to bring out finer details in the photo.
- Be subtle to avoid over-sharpening, which can lead to unnatural results.
7. Crop and Resize:
- Crop images to improve composition and remove unwanted elements.
- Resize photos for different purposes, such as framing or sharing on social media.
8. Apply Filters and Effects:
- Experiment with filters and effects to add a creative touch.
- Exercise moderation to preserve the authenticity of the original photo.
9. Save and Backup Your Work:
- Save your edited photos in a high-quality format (e.g., JPEG or TIFF).
- Create backups to prevent data loss.
FAQs
Can I edit old photos without any prior experience in photo editing?
Absolutely! Many user-friendly editing tools offer tutorials and simple interfaces, making it accessible for beginners. Start with basic adjustments and gradually explore more advanced features.
Will editing old photos compromise their authenticity?
No, careful editing can enhance the visual appeal while preserving the original essence of the photo. Avoid excessive alterations to maintain the authenticity of the image.
What is the best way to store and organize digital copies of edited photos?
Create a dedicated folder for your edited photos, organized by date or event. Consider cloud storage for additional backup and easy access.
Are there any specific tools for removing scratches and blemishes in old photos?
Most photo editing software includes a cloning or healing tool specifically designed for removing imperfections. Experiment with these tools to achieve optimal results.
Can I revert to the original version of the photo after editing?
Yes, always save a copy of the original photo before starting the editing process. This way, you can easily compare and revert to the original if needed.
Conclusion
Knowing how to edit old photos is a skill that allows you to breathe new life into cherished memories. By following this comprehensive guide, you can navigate the process confidently and ensure your photos stand the test of time. Embrace the journey of reviving your memories through the art of photo editing!
This page was last edited on 27 February 2024, at 6:09 pm
