InDesign is a powerful desktop publishing software that allows you to create visually appealing layouts for various purposes. One of the essential features it offers is the ability to create clipping masks, which help you control the visibility of objects within a defined shape. Whether you’re designing a magazine cover, a brochure, or a simple graphic, knowing how to create clipping masks in InDesign can be a valuable skill. In this article, we’ll take you through the process of creating clipping masks in InDesign, step by step. Let’s get started!
What is a Clipping Mask?
A clipping mask in InDesign is a photo editing technique to hide portions of an image or object, revealing only the content that falls within a defined shape. Think of it as a stencil or a window through which you view a specific part of an image or object. This technique is particularly useful when you want to create visually striking designs by merging images or artwork within custom shapes or text.
How to Create a Clipping Mask in InDesign
Follow these step-by-step instructions to create a clipping mask in Adobe InDesign:
Step 1: Open InDesign and Create a New Document
If you haven’t already, open InDesign and create a new document where you want to work on your project.
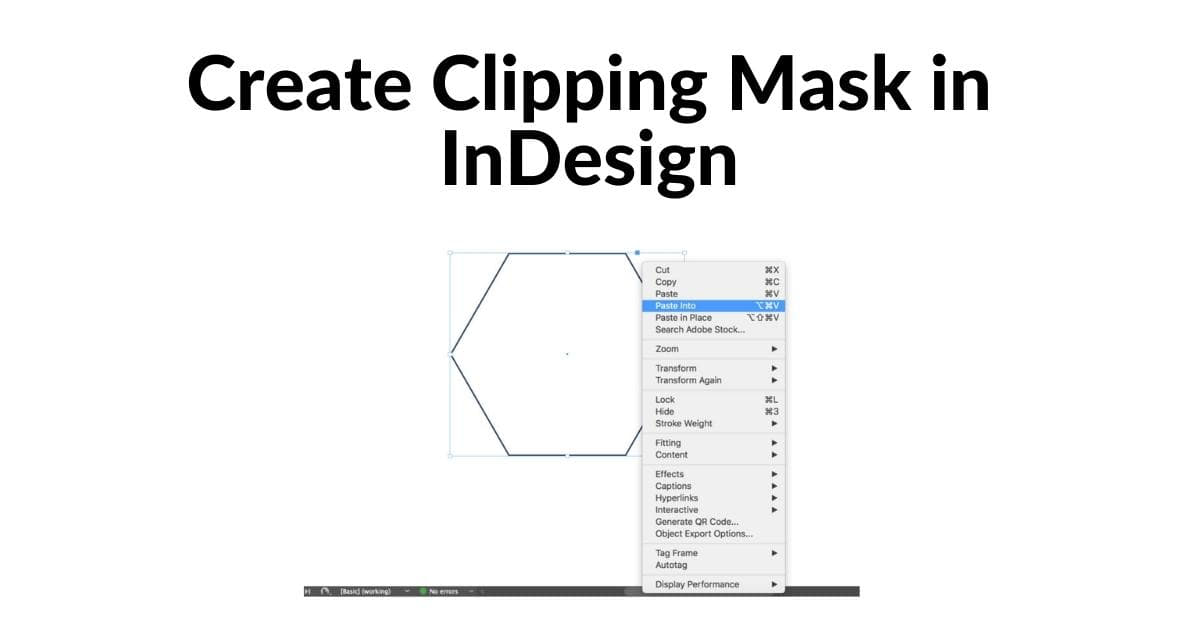
Step 2: Import or Create Your Images or Objects
Import the images or objects you want to use in your design. You can do this by going to “File” > “Place” and selecting the files you want to include.
Step 3: Create the Shape
Create the shape you want to use as your clipping mask. This can be done using the Pen Tool, the Ellipse Tool, or other shape tools available in InDesign. You can also use text as a clipping mask.
Step 4: Position the Shape Over the Content
Position the shape over the content you want to mask. Ensure that the content is below the shape in the layers panel.
Step 5: Select Both the Shape and the Content
Click and select both the shape and the content by holding down the Shift key and clicking each element.
Step 6: Create the Clipping Mask
With the shape and content selected, navigate to “Object” > “Clipping Path” > “Make.” Alternatively, you can use the keyboard shortcut Ctrl+7 (Windows) or Command+7 (Mac).
Step 7: Adjust and Refine
You can now adjust and refine your clipping mask. To do this, select the Direct Selection Tool and click on the edges of the shape to modify its size or position.
Step 8: Save Your Document
Once you are satisfied with the clipping mask, don’t forget to save your document to preserve your progress.
Tips and Tricks
- You can use various shapes and even text as clipping masks.
- To release a clipping mask, select the masked object and go to “Object” > “Clipping Path” > “Release.”
- Experiment with blending modes to achieve different visual effects.
- Remember that the shape should always be on top of the content you want to mask.
FAQs
1. What’s the difference between a clipping mask and a compound path?
A clipping mask hides portions of an image or object, while a compound path combines multiple shapes into a single, editable object. Clipping masks are used for masking content, while compound paths are used for creating more complex shapes by combining multiple objects.
2. Can I edit the content within a clipping mask?
Yes, you can edit the content within a clipping mask. Simply select the clipping mask, go to “Object” > “Clipping Path” > “Edit Contents,” and make your edits. This is especially useful if you want to modify the masked content without changing the shape of the mask.
3. How do I release a clipping mask in InDesign?
To release a clipping mask, select the masked object, and go to “Object” > “Clipping Path” > “Release.” This will remove the mask, allowing you to edit the individual elements separately.
Conclusion
Creating clipping masks in InDesign is a fundamental skill for any graphic designer or desktop publisher. This feature empowers you to design with creativity and precision, making your projects visually captivating. By following the steps outlined in this guide and keeping the FAQs in mind, you’ll be well on your way to mastering the art of clipping masks in Adobe InDesign. Happy designing!
This page was last edited on 19 February 2024, at 3:03 pm