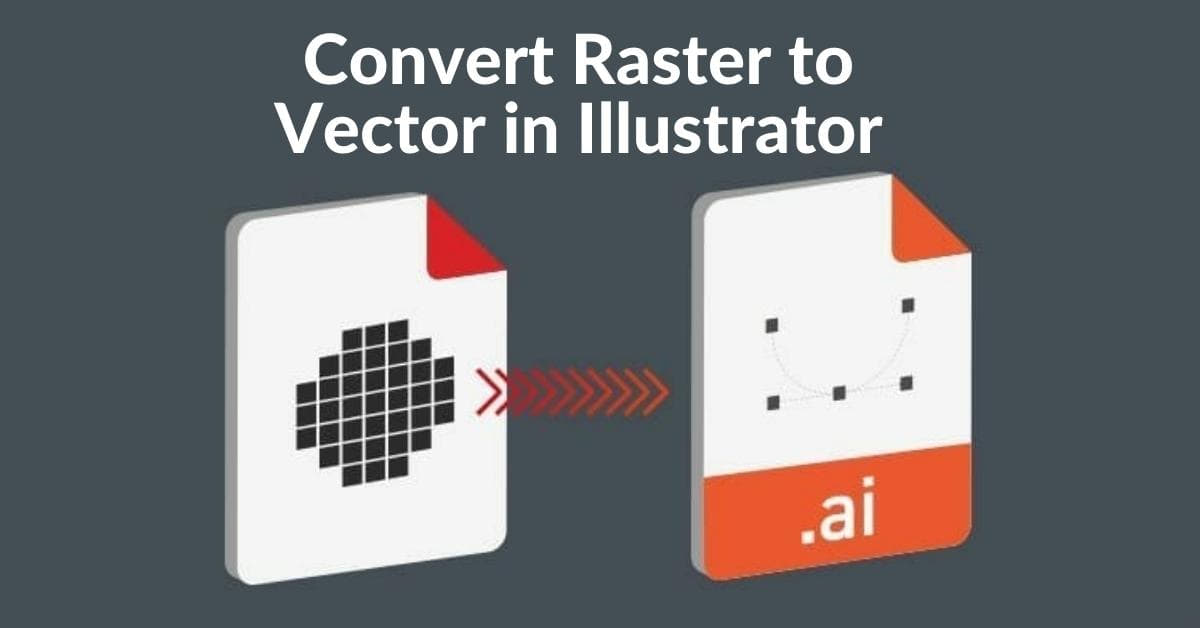
In the world of graphic design and laser cutting, precision and quality are paramount. When working with laser cutting machines, one of the key steps is to convert raster images into vector format. Adobe Illustrator is a powerful tool that can help you make this transformation. In this article, we will explore the process of converting raster to vector in Illustrator for laser cutting, ensuring that your designs are crisp, clean, and ready for the cutting process.
Understanding Raster and Vector Images
Before we dive into the process, it’s essential to understand the fundamental difference between raster and vector images.
Raster Images
- Raster images are made up of pixels and are resolution-dependent. Common raster file formats include JPEG, PNG, and BMP.
- When scaled up, raster images may become pixelated and lose quality.
- They are suitable for photographs and complex, detailed images.
Vector Images
- Vector images are composed of paths, points, and curves, making them resolution-independent. Common vector file formats include AI, SVG, and EPS.
- Vector images can be scaled up or down without losing quality, making them ideal for laser cutting.
Preparing Your Raster Image
To begin the conversion process, follow these steps to prepare your raster image:
- Select a High-Quality Image: Start with a high-resolution raster image to ensure better results.
- Crop and Clean the Image: Use image editing software to crop unnecessary elements and clean up the image.
- Increase Contrast: Adjust the contrast to make the details more distinct.
- Convert to Grayscale: In Illustrator, it’s easier to trace grayscale images. If your image is in color, convert it.
Converting Raster to Vector in Illustrator
Now, let’s proceed with the conversion process in Adobe Illustrator:
- Import the Raster Image: Open Illustrator and go to ‘File’ > ‘Open’ to import your prepared raster image.
- Image Trace: With the image selected, go to ‘Object’ > ‘Image Trace’ > ‘Make’. This will automatically convert the image into a vector format.
- Adjust Image Trace Settings: Fine-tune the settings to achieve the desired level of detail and smoothness. You can modify the threshold, paths, corners, and noise options.
- Expand the Image Trace: After you’re satisfied with the result, go to ‘Object’ > ‘Image Trace’ > ‘Expand’. This will convert the traced image into editable vector paths.
- Refine and Edit: You can further refine and edit the vector paths using the Direct Selection Tool or Pen Tool in Illustrator.
- Save as Vector: Save your newly created vector image in an appropriate format, such as AI or SVG, which is compatible with laser cutting machines.
FAQs
Q1: Why is it necessary to convert a raster image to vector for laser cutting?
A1: Laser cutting machines operate based on vector paths, which define the cutting lines. Raster images lack this information, so they need to be converted into vector format to provide precise cutting instructions to the machine.
Q2: What if my raster image is complex or contains a lot of detail?
A2: Complex images may require more fine-tuning during the conversion process. You can experiment with the Image Trace settings in Illustrator to achieve the desired level of detail. Additionally, cleaning up the raster image before conversion can help simplify the process.
Q3: Can I use other software for this conversion?
A3: Adobe Illustrator is a popular choice due to its powerful vector tracing capabilities. However, there are other vectorization tools available, such as CorelDRAW and Inkscape, which can also be used for this purpose.
Q4: Is the vector conversion process suitable for all types of materials in laser cutting?
A4: Yes, the vector conversion process is applicable for various materials, including wood, acrylic, metal, and fabric. It allows you to create precise cutting paths for your designs, regardless of the material.
Conclusion
Converting raster to vector in Illustrator for laser cutting is an essential skill for graphic designers and artists. With the right image editing techniques and tools, you can ensure that your designs are clean, precise, and ready for laser cutting. By following the steps outlined in this article, you’ll be well-equipped to create stunning laser-cut projects with confidence. Remember to start with a high-quality raster image and fine-tune the vector conversion settings to achieve the best results for your specific project.
This page was last edited on 22 February 2024, at 5:46 pm
