In the world of photography, color correction is a crucial photo editing technique that can transform your images from dull and unimpressive to vibrant and stunning. Whether you’re a professional photographer or a hobbyist, understanding the art of color correction can make a significant difference in the quality of your work. In this article, we’ll explore what color correction in photography is, how to perform it effectively, and answer some frequently asked questions to help you get the most out of your images.
Understanding Color Correction in Photography
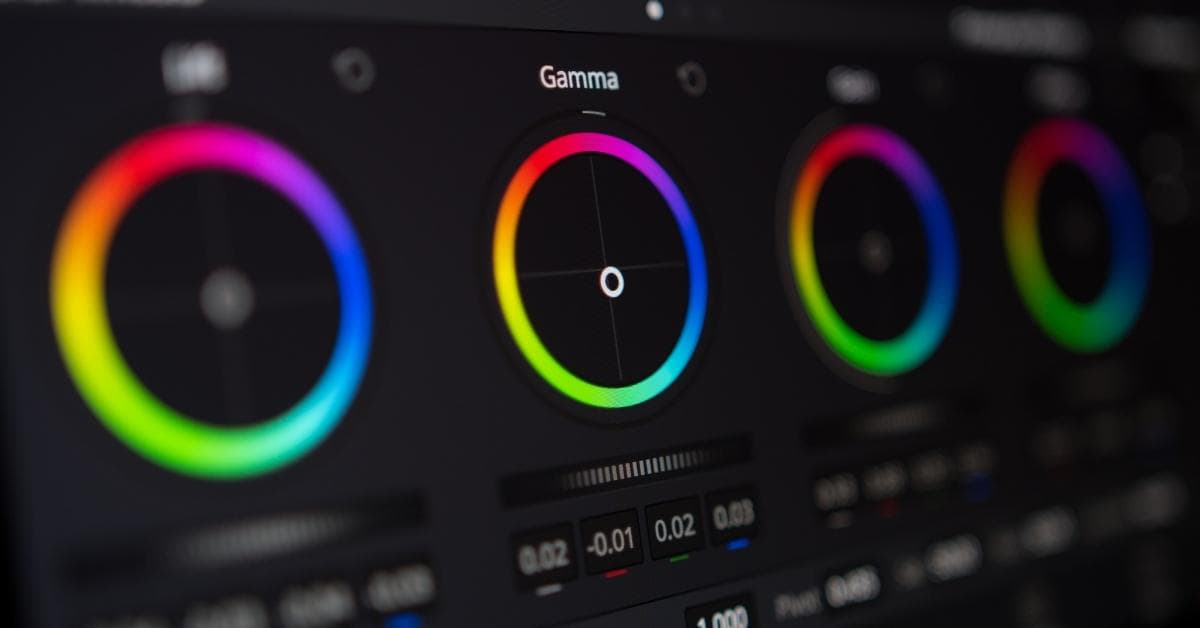
Color correction in photography refers to the process of adjusting the colors in an image to make them appear more accurate and visually pleasing. It involves tweaking the hue, saturation, and brightness of various elements in a photo, such as skin tones, landscapes, or product shots, to ensure they match our perception of reality.
Tools and Software for Color Correction:
To perform color correction effectively, you’ll need the right tools and software. Popular color correction software choices include Adobe Lightroom, Adobe Photoshop, Capture One, and various online tools like Canva. These software options offer a wide range of features and presets to help you fine-tune your images.
The Color Correction Process:
The color correction process generally consists of the following steps:
Step 1: Import and Organize:
- Import your photos into your chosen editing software.
- Organize your images for easy access.
Step 2: Adjust Exposure:
Correct exposure issues, such as overexposed or underexposed images.
Step 3: White Balance Adjustment:
Set the correct white balance to eliminate color casts in your photos.
Step 4: Saturation and Vibrance:
Adjust saturation and vibrance to make colors pop without becoming oversaturated.
Step 5: HSL (Hue, Saturation, Luminance):
Fine-tune specific color channels, enhancing or muting individual colors.
Step 6: Color Grading:
Apply artistic effects or color grading techniques if desired.
Common Mistakes to Avoid
- Over-editing: Avoid excessive adjustments that make your photos look unnatural.
- Ignoring white balance: Correcting white balance issues is vital for accurate colors.
- Neglecting skin tones: Ensure skin tones remain natural and pleasing.
- Using generic presets: Tailor corrections to each image for the best results.
Tips for Achieving Natural-Looking Colors:
- Use reference photos to match real-life colors.
- Adjust colors incrementally to maintain a natural look.
- Monitor color consistency throughout your photo set.
- Save your work in a high-quality format to prevent color degradation.
FAQs
Q1: What is the difference between color correction and color grading in photography?
A1: Color correction aims to fix and enhance the overall colors in an image to make them accurate and pleasing. Color grading, on the other hand, involves adding creative color effects or a specific style to an image.
Q2: Can color correction save a poorly shot photograph?
A2: Color correction can improve the look of a poorly shot photo to some extent, but it cannot work miracles. It’s best to start with a well-exposed and composed image.
Q3: How can I achieve consistent colors in a series of photos?
A3: To maintain color consistency, set your camera’s white balance, use the same lighting conditions, and apply the same correction settings to all photos in a series.
Q4: Is there a universal setting for color correction?
A4: There is no one-size-fits-all setting for color correction since it depends on the specific image and your creative goals. It’s essential to tailor your corrections to each photo.
Conclusion
Mastering color correction in photography is a valuable skill that can elevate the quality of your work. By understanding the basics, using the right tools, and following best practices, you can achieve accurate and visually appealing colors in your images. Remember that practice makes perfect, so don’t hesitate to experiment and refine your techniques as you go along. Happy editing!
This page was last edited on 22 February 2024, at 12:32 pm