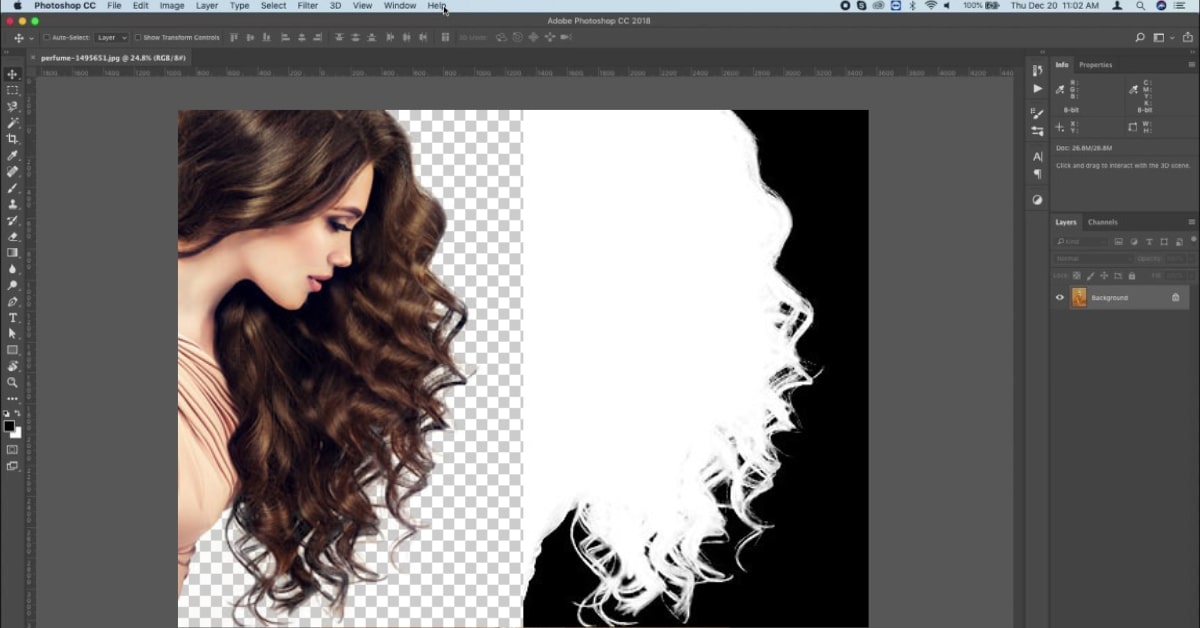
Efficiency is a key factor in the world of image editing, and knowing the right shortcuts can make a world of difference. One such shortcut in Adobe Photoshop is the clipping mask shortcut. In this article, we’ll explore what a clipping mask is, how to create one, and the shortcut that can streamline this process, helping you save time and enhance your editing skills.
What is Clipping Masks?
A clipping mask is a powerful feature in Adobe Photoshop that allows you to control the visibility of one layer by using the contents of another layer as a mask. It’s often used to create precise and intricate image effects, particularly when you want one layer to show only through the shape of another.
Creating Clipping Masks in Photoshop
To create a clipping mask in Photoshop, follow these steps:
- Place the layer you want to mask above the layer you want to use as a mask.
- Select the upper layer and go to “Layer” in the menu.
- Choose “Create Clipping Mask.”
This will make the upper layer visible only within the shape or contents of the layer beneath it.
Clipping Mask Shortcut
In Photoshop, efficiency is key. To create a clipping mask quickly, you can use the shortcut:
- Alt (Option on Mac) + Ctrl + G (when the top layer is selected)
This shortcut instantly creates a clipping mask without navigating through menus, saving you valuable time.
Benefits of Using Clipping Masks
Non-Destructive Editing
One of the primary benefits of clipping masks is that they allow for non-destructive photo editing. You can make adjustments to the clipped layer without altering the original content, giving you more flexibility.
Precise Image Blending
Clipping masks excel at precise image blending. You can seamlessly integrate one image into the shape or content of another, creating stunning visual effects.
Simplified Design Workflow
Clipping masks simplify the design workflow. Whether you’re working on composite images or adding text effects, they streamline the process, making it more efficient.
Easy Text Effects
Creating text effects like text within shapes or images is a breeze with clipping masks. You can effortlessly make your text appear as if it’s part of the underlying image.
Conclusion
The clipping mask shortcut in Adobe Photoshop is a valuable tool that can significantly enhance your image editing efficiency. By understanding how to create and use clipping masks and employing the shortcut, you can save time, maintain non-destructive editing, and produce stunning visual effects with ease. Whether you’re a seasoned Photoshop user or just starting your editing journey, mastering this technique can be a game-changer in your design and editing workflow.
FAQs
Can I use multiple layers for clipping masks?
Yes, you can use multiple layers as clipping masks, allowing for intricate and complex effects.
Are clipping masks reversible or editable after they’re created?
Yes, clipping masks are fully reversible and editable. You can make changes at any time without altering the original content.
Are clipping masks limited to images, or can they be used with other design elements?
Clipping masks can be used with a wide range of design elements, including text, shapes, and more.
This page was last edited on 20 February 2024, at 2:57 pm
