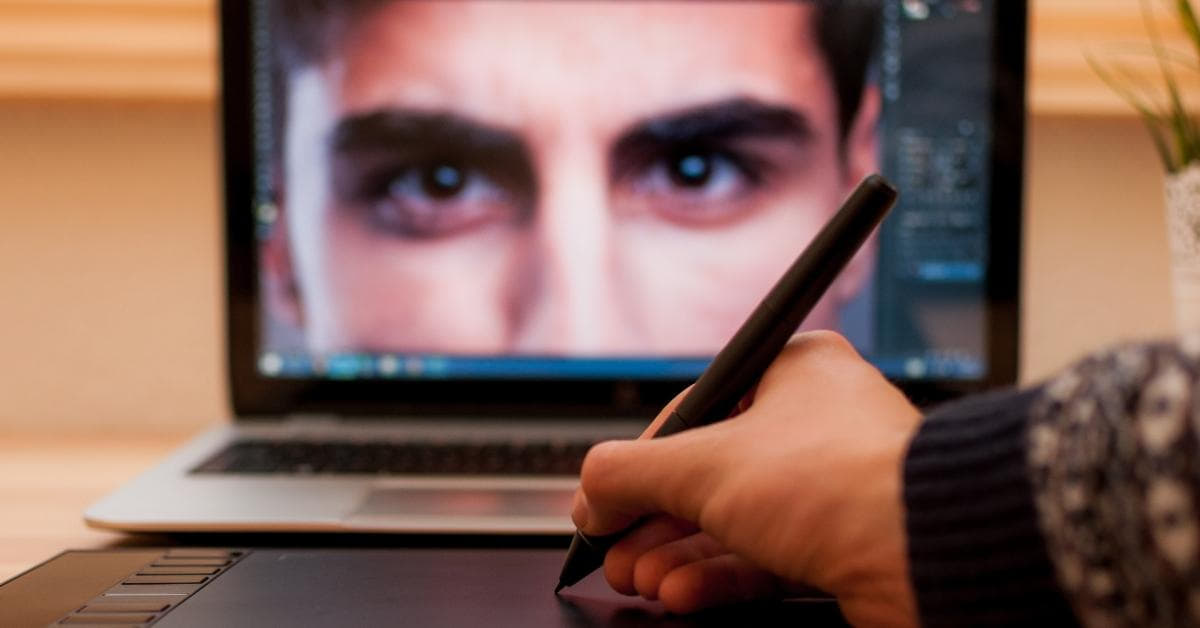
In the fast-paced world of digital photography and photo editing, the ability to retouch skin efficiently is a valuable skill. Whether you’re a photographer, a social media influencer, or just someone who loves taking selfies, knowing how to enhance your skin in 15 minutes or less can make a significant difference. In this article, we’ll walk you through a simple and effective process to achieve professional-looking results without spending hours in front of the computer.
The 15-Minute Skin Retouching Process:
- Start with a High-Quality Image:
Before diving into the retouching process, ensure you have a high-resolution image. This provides a solid foundation for effective skin retouching. - Basic Skin Cleanup:
Begin by using the healing brush or spot healing tool to remove any noticeable blemishes, acne, or spots. Be careful not to overdo it, as maintaining a natural look is crucial. - Even Out Skin Tone:
Use the dodge and burn tools to even out the skin tone. Lightly dodge the brighter areas and burn the darker areas to create a harmonious skin tone. - Smooth Skin Texture:
Apply a subtle skin-smoothing filter or technique to reduce the appearance of fine lines and wrinkles. Use the blur tool sparingly to maintain a realistic skin texture. - Enhance Skin Luminosity:
Boost the overall luminosity of the skin using the curves adjustment layer. This adds a healthy glow to the skin without compromising its natural look. - Adjust Color Balance:
Fine-tune the color balance to ensure a natural and vibrant skin tone. Pay attention to the red and yellow tones, as they greatly influence the overall appearance of the skin. - Final Touches:
Finish the retouching process by adjusting contrast, saturation, and sharpness. These final touches help bring out the best in your skin without making it look overly processed.
FAQs
Q1: Can I use any photo editing software for skin retouching?
A: Yes, you can use popular photo editing software like Adobe Photoshop, Lightroom, or even free alternatives like GIMP. The key is to be familiar with the tools available in your chosen software.
Q2: Is it necessary to retouch skin for every photo?
A: It depends on your personal preference and the context of the photo. While some images may benefit from subtle retouching, others may look better with a more natural appearance. Use your discretion based on the specific photo and its purpose.
Q3: How can I avoid the “over-retouched” look?
A: To avoid an unnatural appearance, always retouch with a light hand. Focus on enhancing natural features rather than completely altering them. Regularly zoom out to assess the overall image and maintain a balanced perspective.
Q4: Are there any shortcuts for faster skin retouching?
A: Using keyboard shortcuts and mastering hotkeys in your chosen editing software can significantly speed up the retouching process. Additionally, creating and using presets for common adjustments can save time.
Conclusion
Mastering the art of skin retouching in 15 minutes or less is an achievable goal with the right techniques and tools. Remember to strike a balance between enhancement and maintaining a natural look, and always consider the specific needs of each photo. Practice makes perfect, so experiment with different methods to find what works best for you. Happy retouching!
This page was last edited on 27 February 2024, at 3:08 pm