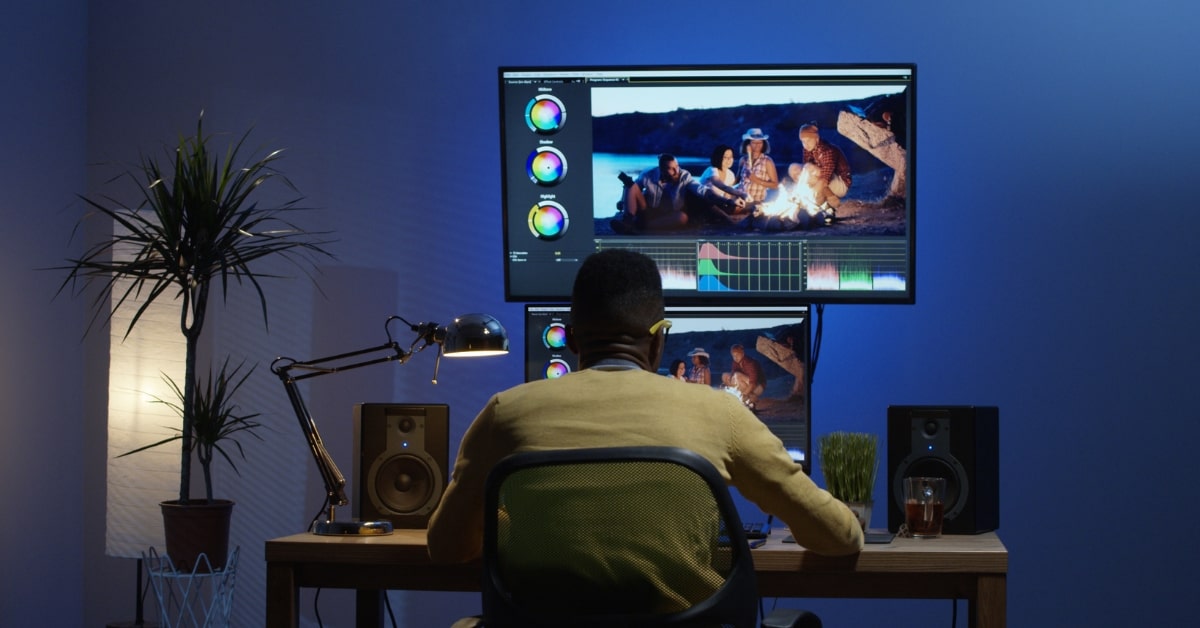
Color correction is a transformative process that breathes life into visual content, ensuring accuracy and vibrancy. Whether you’re a photographer, videographer, or graphic designer, understanding the color correction process is fundamental to achieving professional and visually stunning results. In this guide, we’ll unravel the intricacies of the color correction process, exploring its significance, techniques, and the tools that empower creators to perfect their visuals.
Significance of Color Correction
1. Achieving Accuracy and Consistency:
The primary goal of color correction is to ensure that colors in visual content are accurate and consistent. This is essential for maintaining realism and conveying the intended message.
2. Enhancing Visual Appeal:
Beyond accuracy, color correction is a creative tool for enhancing the visual appeal of images and videos. It allows creators to evoke specific moods, highlight focal points, and create a cohesive visual narrative.
Key Steps in the Color Correction Process
1. White Balance Adjustment:
Begin by correcting the white balance to ensure that whites appear neutral. This step establishes a foundation for accurate color representation.
2. Exposure and Contrast Correction:
Adjust exposure and contrast to achieve a balanced tonal range. This step ensures that highlights and shadows are appropriately defined without loss of detail.
3. Color Balance and Saturation:
Fine-tune color balance to eliminate unwanted color casts. Adjust saturation to control the intensity of colors, striking the right balance for a visually pleasing result.
4. Selective Color Adjustments:
Dive into selective color adjustments using tools like the HSL (Hue, Saturation, Luminance) panel. This allows for targeted changes to specific colors within the image.
5. Curves and Levels Adjustment:
Utilize curves and levels to refine the overall tonal and color balance. These advanced tools provide granular control over the highlights, midtones, and shadows.
Tools for a Successful Color Correction Process
- Color Correction Software:
Popular software like Adobe Lightroom, Photoshop, and DaVinci Resolve offers comprehensive color correction tools suitable for photos and videos. - Calibration Tools:
Regularly calibrate your monitor to ensure that the colors you see are accurate. Calibration tools maintain consistency in your color correction work. - Reference Images:
Build a collection of reference images with accurate colors. These serve as guides for achieving precise color correction in your projects.
Conclusion
The color correction process is both a science and an art, allowing creators to elevate their visuals to new heights. By understanding the significance, mastering the key steps, and using the right tools, you can harness the transformative power of color correction. Whether you’re aiming for accuracy, consistency, or a creative visual style, the color correction process is a cornerstone of successful visual storytelling across various mediums.
Frequently Asked Questions
Is color correction only for professionals?
No, color correction is beneficial for anyone involved in visual content creation, from amateurs to professionals. It enhances the overall quality of images and videos.
How often should I calibrate my monitor for color correction?
Regular calibration is recommended, especially in environments where lighting conditions may change. Many professionals calibrate their monitors monthly or before critical projects.
Can I use color correction for black and white images or videos?
Yes, color correction is not limited to color visuals. It can be used to adjust tones and contrast in black and white content.
Is the color correction process the same for photos and videos?
While the principles of color correction apply to both photos and videos, the tools and workflows may vary slightly between dedicated photo editing and video editing software.
This page was last edited on 25 February 2024, at 2:28 pm
