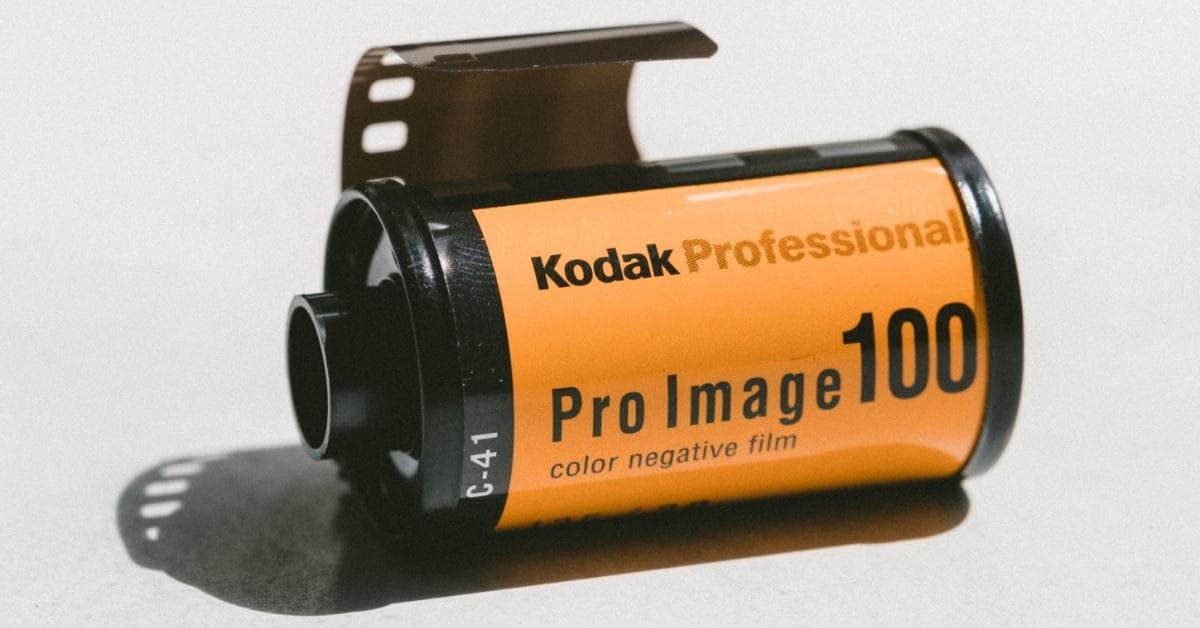
In the world of graphic design and image editing, the Photoshop shadow effect is a versatile and invaluable tool that can bring depth, realism, and dimension to your images. Whether you’re a seasoned professional or just starting on your creative journey, this article will guide you through the process of creating stunning shadow effects in Photoshop. We’ll explore various techniques, tips, and best practices to help you achieve the desired results.
Understanding Photoshop Shadow Effect
Before diving into the practical aspects, it’s essential to grasp what the Photoshop shadow effect is. A shadow effect is an element added to an image to create a sense of depth and dimension. It’s used to mimic how light interacts with objects in the real world.
Creating Basic Drop Shadows
Adding a basic drop shadow is the simplest way to start. Open your image in Photoshop, select the layer you want to add a shadow to, and go to “Layer” > “Layer Style” > “Drop Shadow.” Adjust the settings to control the shadow’s angle, distance, size, and opacity.
Designing Realistic Soft Shadows
To create soft, realistic shadows, duplicate the layer you want to shadow. Blur the duplicate layer using Gaussian Blur (Filter > Blur > Gaussian Blur) and adjust the opacity to achieve the desired softness.
Crafting Custom Shadows
For more control over your shadows, use the Pen Tool to create custom shapes for your shadows. Convert your path into a selection, fill it with a color, and adjust the opacity and blending mode for a custom shadow effect.
Applying Shadows to Text
Adding shadows to text can make it pop off the page. Convert your text into a Smart Object, apply the drop shadow as usual, and customize the settings to match your design.
Optimizing for Web and Print
When saving your work for different platforms, be mindful of resolution and color profiles. For web, use the RGB color space and a resolution of 72 dpi. For print, switch to CMYK and set the resolution at 300 dpi.
FAQs
Q1: Can I apply multiple shadow effects to one layer?
Yes, you can apply multiple shadow effects to a single layer in Photoshop. Duplicate the layer and apply different shadow effects to each duplicate to create complex shadows.
Q2: How can I make my shadows look more natural?
To make your shadows appear more realistic, pay attention to light sources, angles, and the object’s environment. Experiment with opacity, blur, and blending modes to fine-tune the effect.
Q3: Can I use the Photoshop shadow effect in Photoshop Elements?
Yes, Photoshop Elements offers similar shadow effect capabilities. You can access them by going to “Layer” > “Layer Style” > “Drop Shadow.”
Q4: What’s the best way to remove shadows from an image in Photoshop?
To remove shadows, you can use tools like the Clone Stamp or Healing Brush. Carefully sample nearby areas with similar textures and colors to blend out the shadows.
Q5: Are there any third-party plugins for creating advanced shadow effects?
Yes, there are several third-party plugins and actions available that can help you create advanced shadow effects in Photoshop. Some popular options include Alien Skin’s Eye Candy and GraphicRiver’s shadow effect actions.
Conclusion
Mastering the Photoshop shadow effect is a valuable skill for graphic designers and photographers alike. With the right techniques and a bit of creativity, you can add depth, realism, and dimension to your images, making them stand out in any medium. Don’t be afraid to experiment, and soon you’ll be creating stunning shadow effects with ease. Happy designing!
This page was last edited on 25 February 2024, at 5:40 pm
