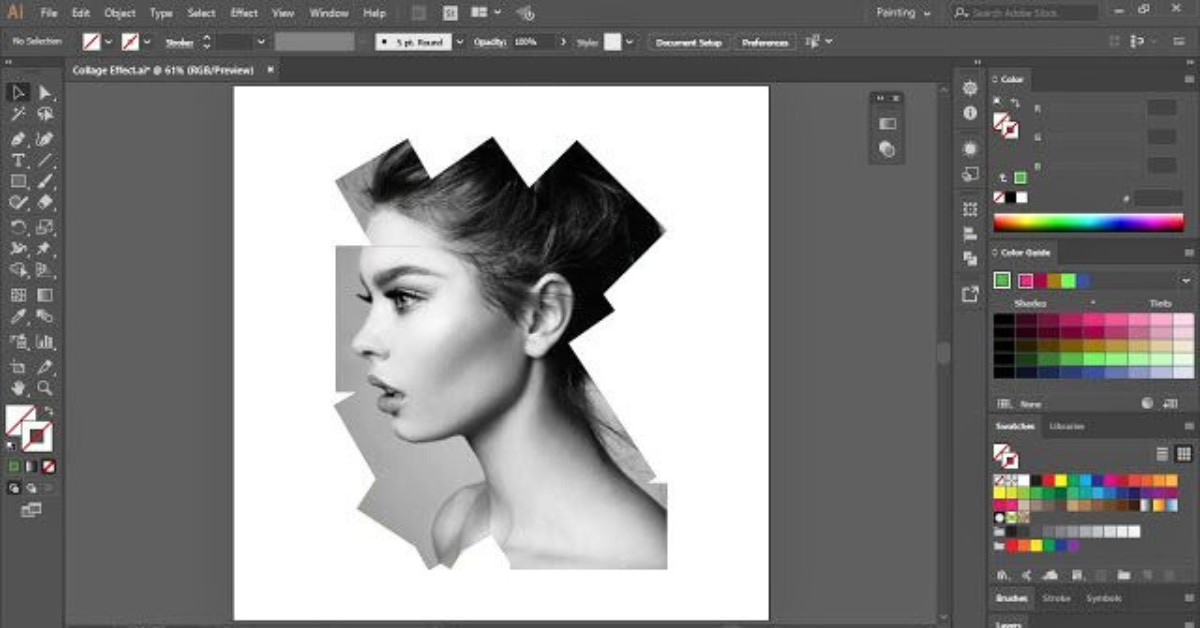
Adobe Illustrator is a powerful tool for graphic designers and artists, offering a range of features to bring your creative ideas to life. Clipping masks are an essential part of Illustrator, but there may come a time when you want to simplify your artwork. In this guide, we’ll explore the process of flattening clipping masks in Illustrator, why it’s useful, and provide step-by-step instructions. Whether you’re new to Illustrator or a seasoned pro, this article will help you streamline your design projects.
What is a Clipping Mask in Illustrator?
A clipping mask is a feature in Adobe Illustrator that allows you to mask one object with the shape of another. This means that the content inside the top object is visible only where it overlaps with the bottom object. Clipping masks are useful for creating complex shapes, adding textures, or controlling the visibility of specific areas within your artwork.
Why Flatten Clipping Masks?
While clipping masks are incredibly useful during the image editing and design process, there are instances where you might want to flatten them:
1. Simplification: Flattening clipping masks reduces the complexity of your artwork, making it easier to work with and export.
2. Consistency: Flattened artwork is often preferred for printing or exporting to other programs, ensuring that the final result appears as intended.
3. Compatibility: Some software or printing processes may not support live clipping masks, so flattening your artwork becomes necessary.
4. File Size: Reducing the number of clipping masks can help decrease the file size of your Illustrator project.
How to Flatten Clipping Masks in Illustrator?
Follow these simple steps to flatten clipping masks in Adobe Illustrator:
Step 1: Open your Illustrator project and select the artwork that contains the clipping masks you want to flatten.
Step 2: Go to the “Object” menu and select “Flatten Transparency.”
Step 3: In the “Flatten Transparency” dialog box, you can adjust settings such as raster vector balance and resolution to fine-tune the flattening process. In most cases, the default settings work well.
Step 4: Click the “OK” button, and Illustrator will flatten the clipping masks in your selected artwork.
Your artwork is now flattened, and you can continue working on it without the live clipping masks.
Tips for Working with Flattened Artwork
Here are some tips to keep in mind when working with flattened artwork in Illustrator:
1. Make a Backup: Before flattening your artwork, create a copy of the original file in case you need to make further adjustments.
2. Be Mindful of Overlaps: When flattening, be aware that overlapping areas may merge, so ensure your artwork is organized properly.
3. Document Your Workflow: Keep track of the steps you took to flatten your artwork, especially if you plan to edit it later.
4. Check for Errors: After flattening, carefully review your artwork for any unexpected changes or issues.
5. Use Flattened Artwork for Final Outputs: Save the flattened version for printing, exporting, or sharing with others.
Conclusion
In conclusion, understanding how to flatten clipping masks in Adobe Illustrator is a valuable skill that can help you simplify your artwork and make it suitable for various outputs. Whether you’re preparing your graphic design for printing or ensuring compatibility with other software, this guide has provided you with the knowledge to effectively manage your clipping masks and streamline your creative process.
FAQs
Can I unflatten artwork in Illustrator after flattening it?
Once you’ve flattened artwork, it cannot be easily “unflattened.” It’s crucial to make a backup of your original artwork before proceeding.
Does flattening artwork affect the quality of the final output?
Flattening should not significantly affect the quality of your artwork, but it’s essential to review it thoroughly after flattening to ensure it meets your expectations.
Can I adjust the flattening settings in Illustrator?
Yes, you can customize the flattening settings in the “Flatten Transparency” dialog box to control the balance between vectors and raster elements.
What’s the difference between “Flatten Transparency” and “Expand Appearance” in Illustrator?
“Expand Appearance” is used to convert effects, such as gradients or strokes, into editable objects, while “Flatten Transparency” is used to merge and simplify artwork with clipping masks.
Is there a way to flatten all clipping masks in a document at once?
To flatten all clipping masks in a document, you may need to use a script or a third-party tool, as Illustrator’s default options apply to selected artwork only.
This page was last edited on 22 February 2024, at 12:57 pm
